
A persona stands for a real account in the product your repository builds, along with the state that account is in, so flows can sign in as it when they run. Because the account belongs to that product, personas live on the repository rather than on your organization as a whole, and you manage them from the repository's page in DynoDocs settings.
Open a repository's personas
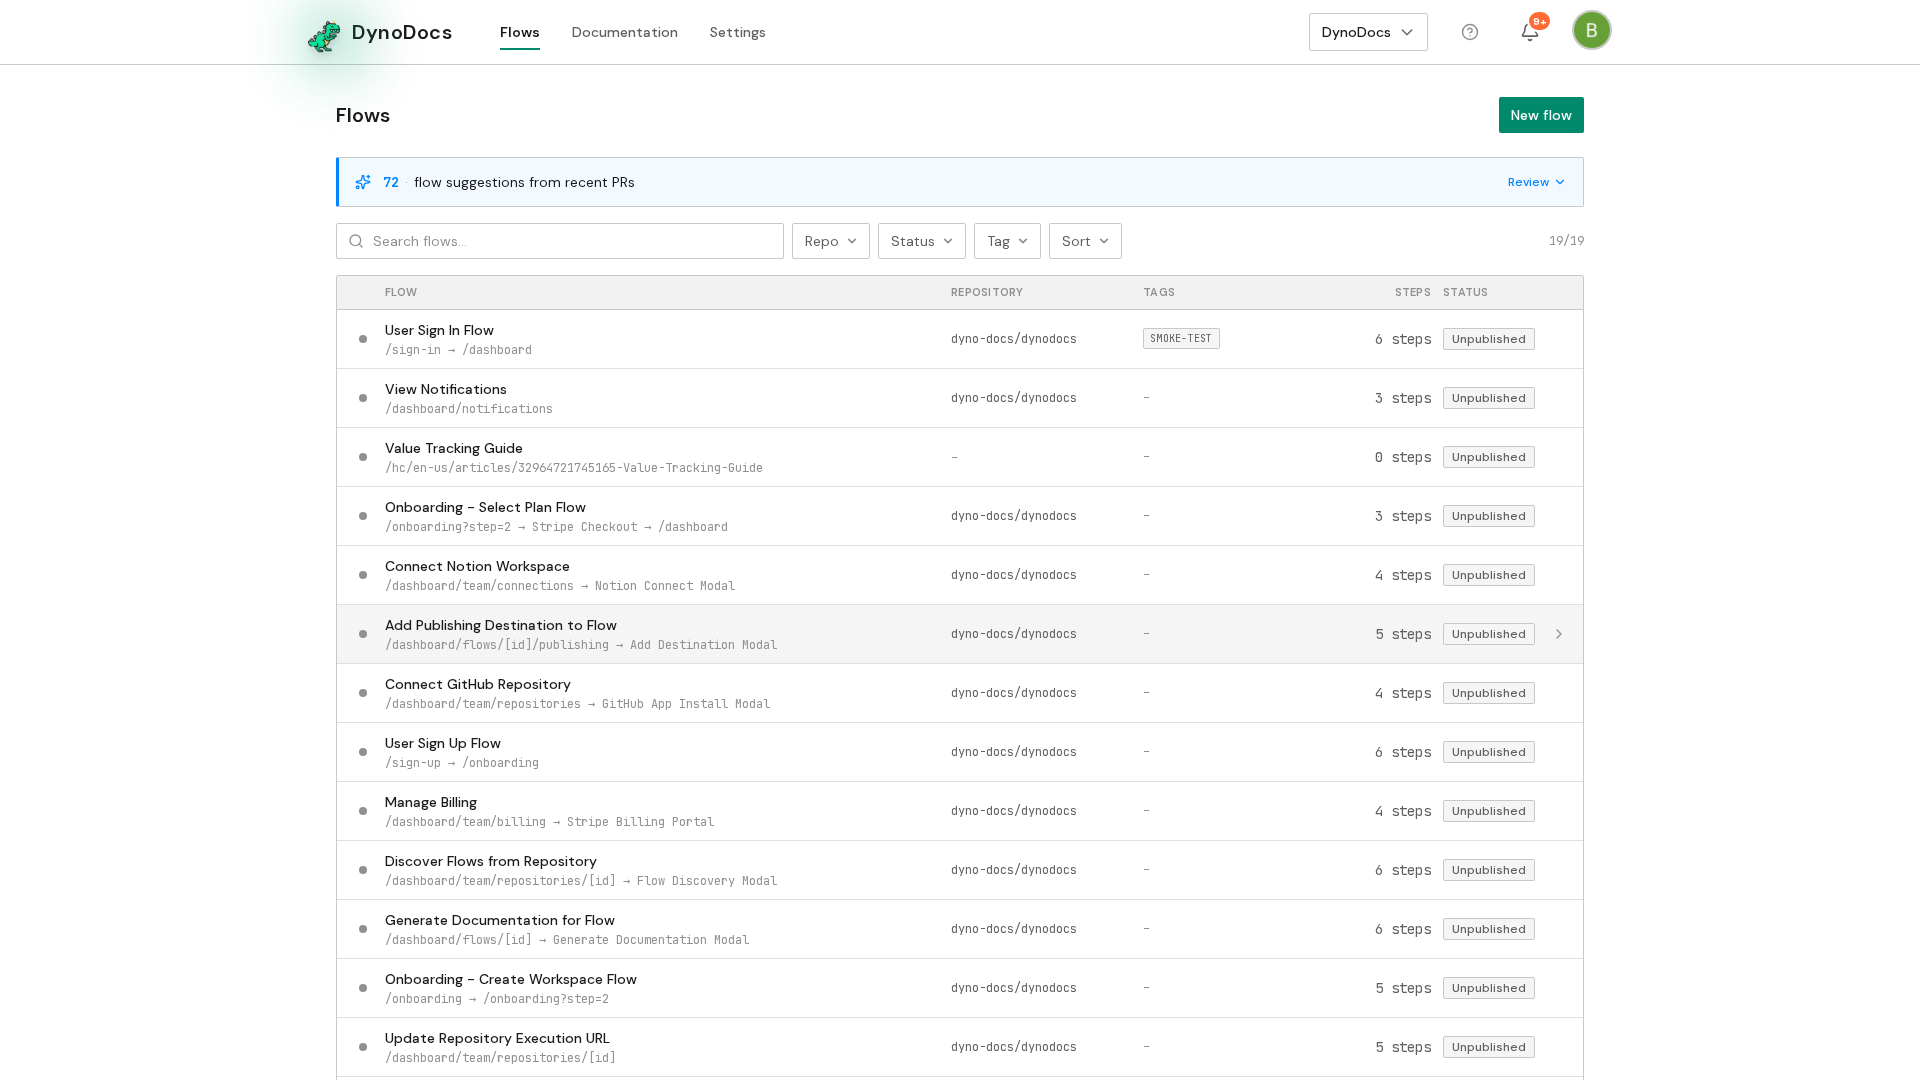
From your dashboard, click Settings in the top navigation.
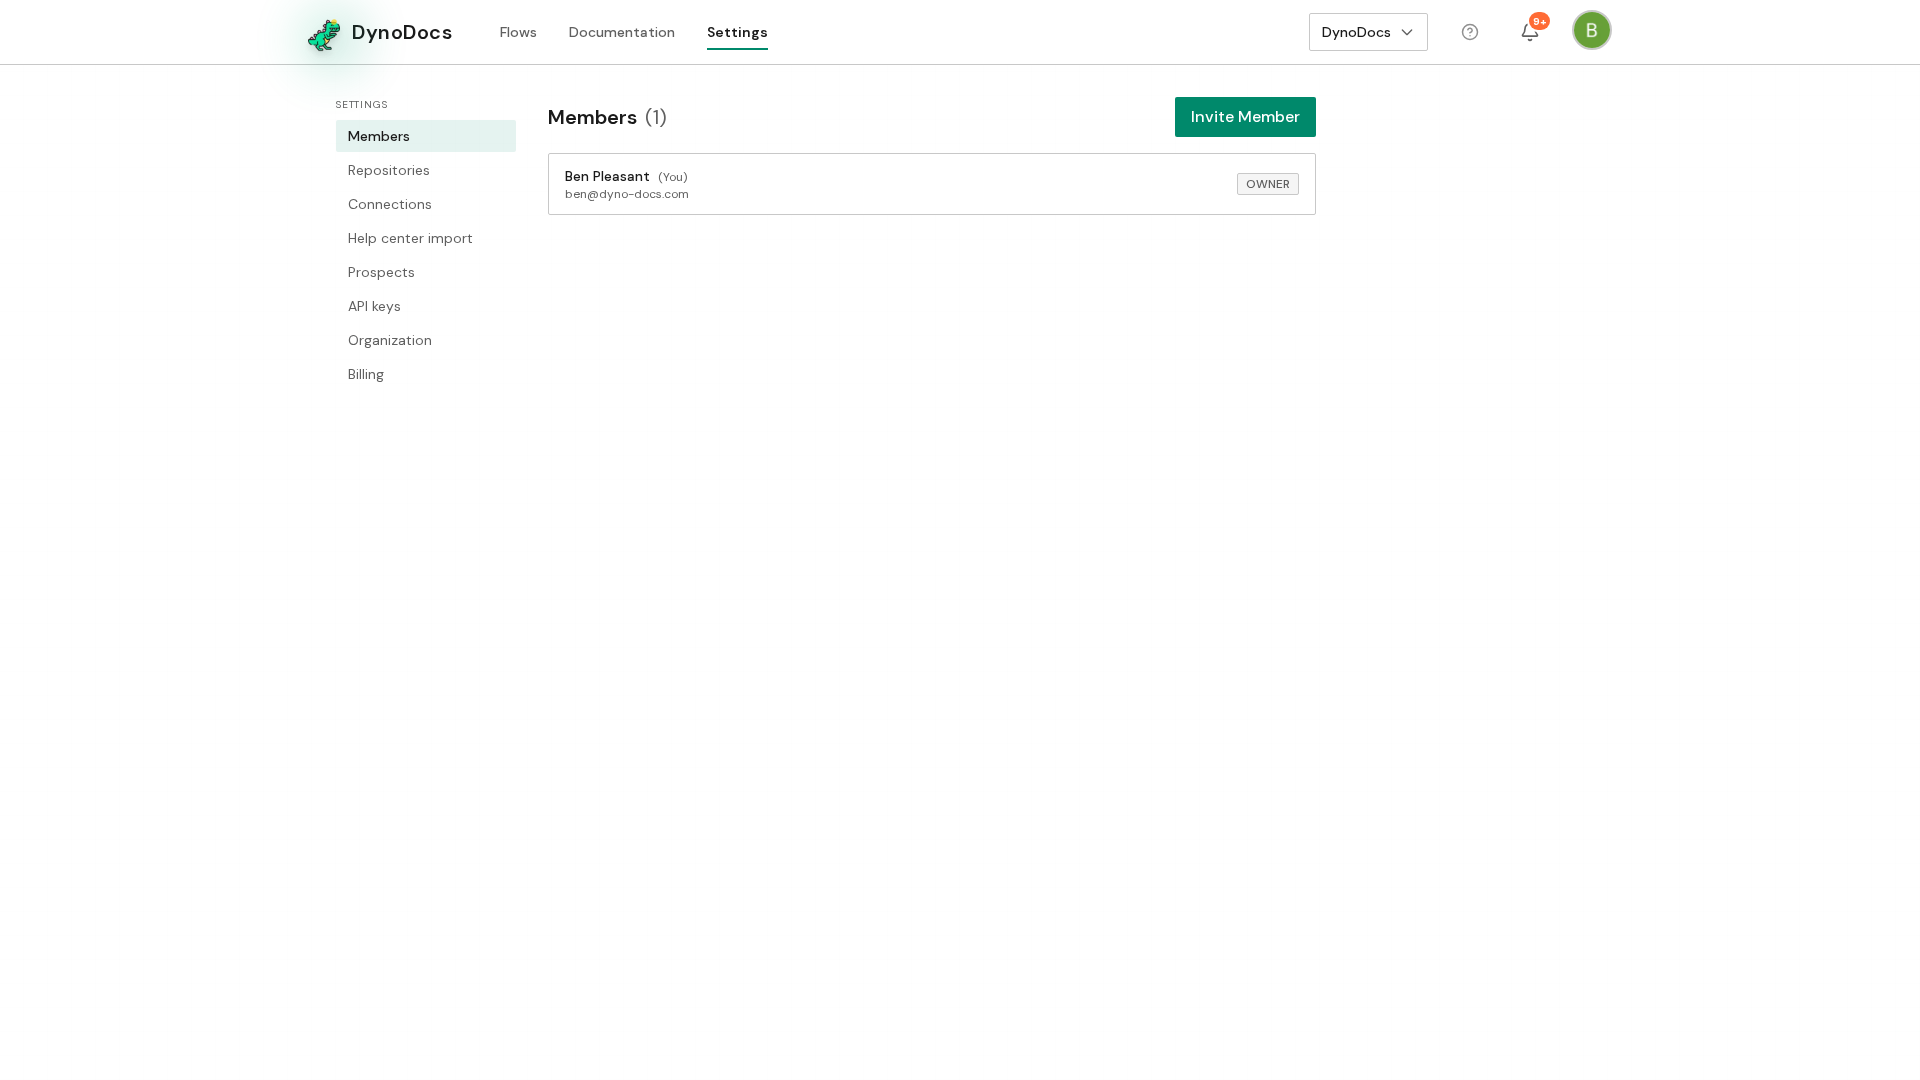
Settings opens on the Members page, with its own menu down the left. Choose Repositories.
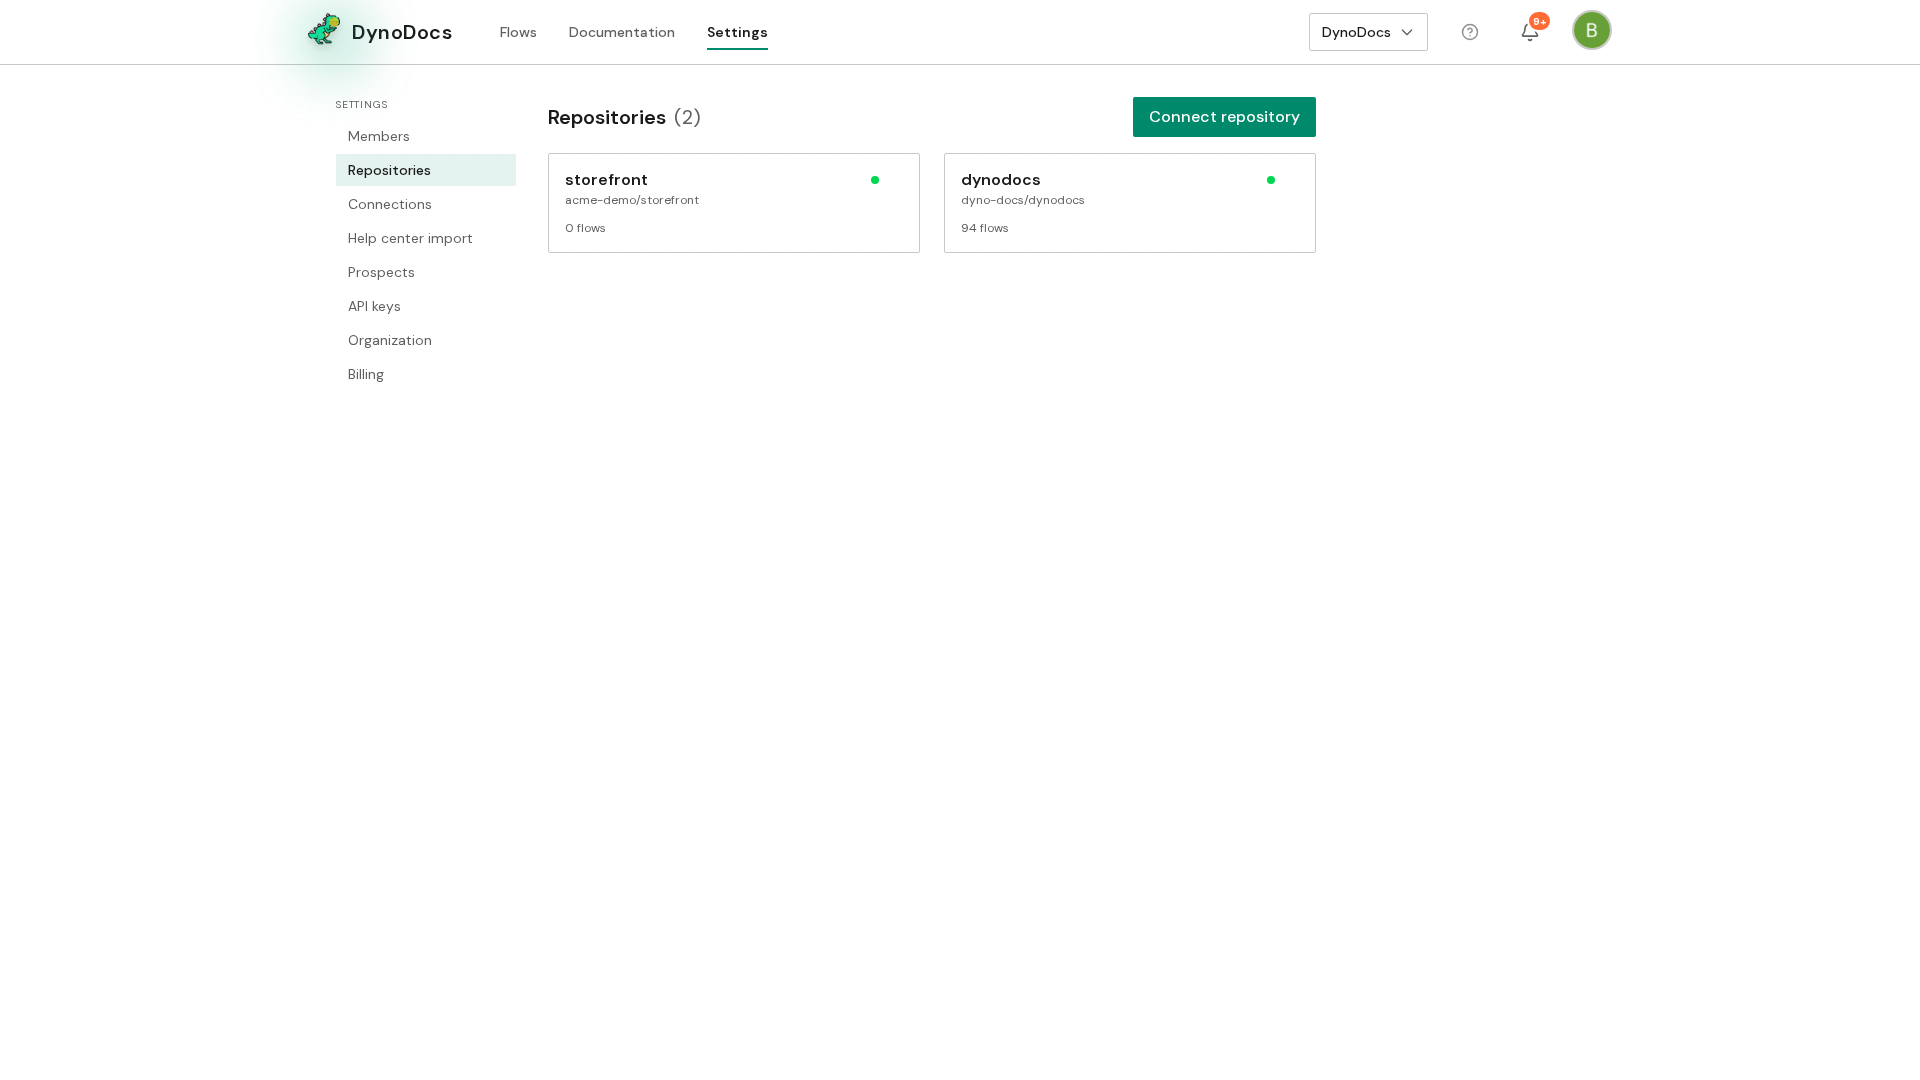
Your connected repositories are listed. Click the repository whose personas you want to manage.
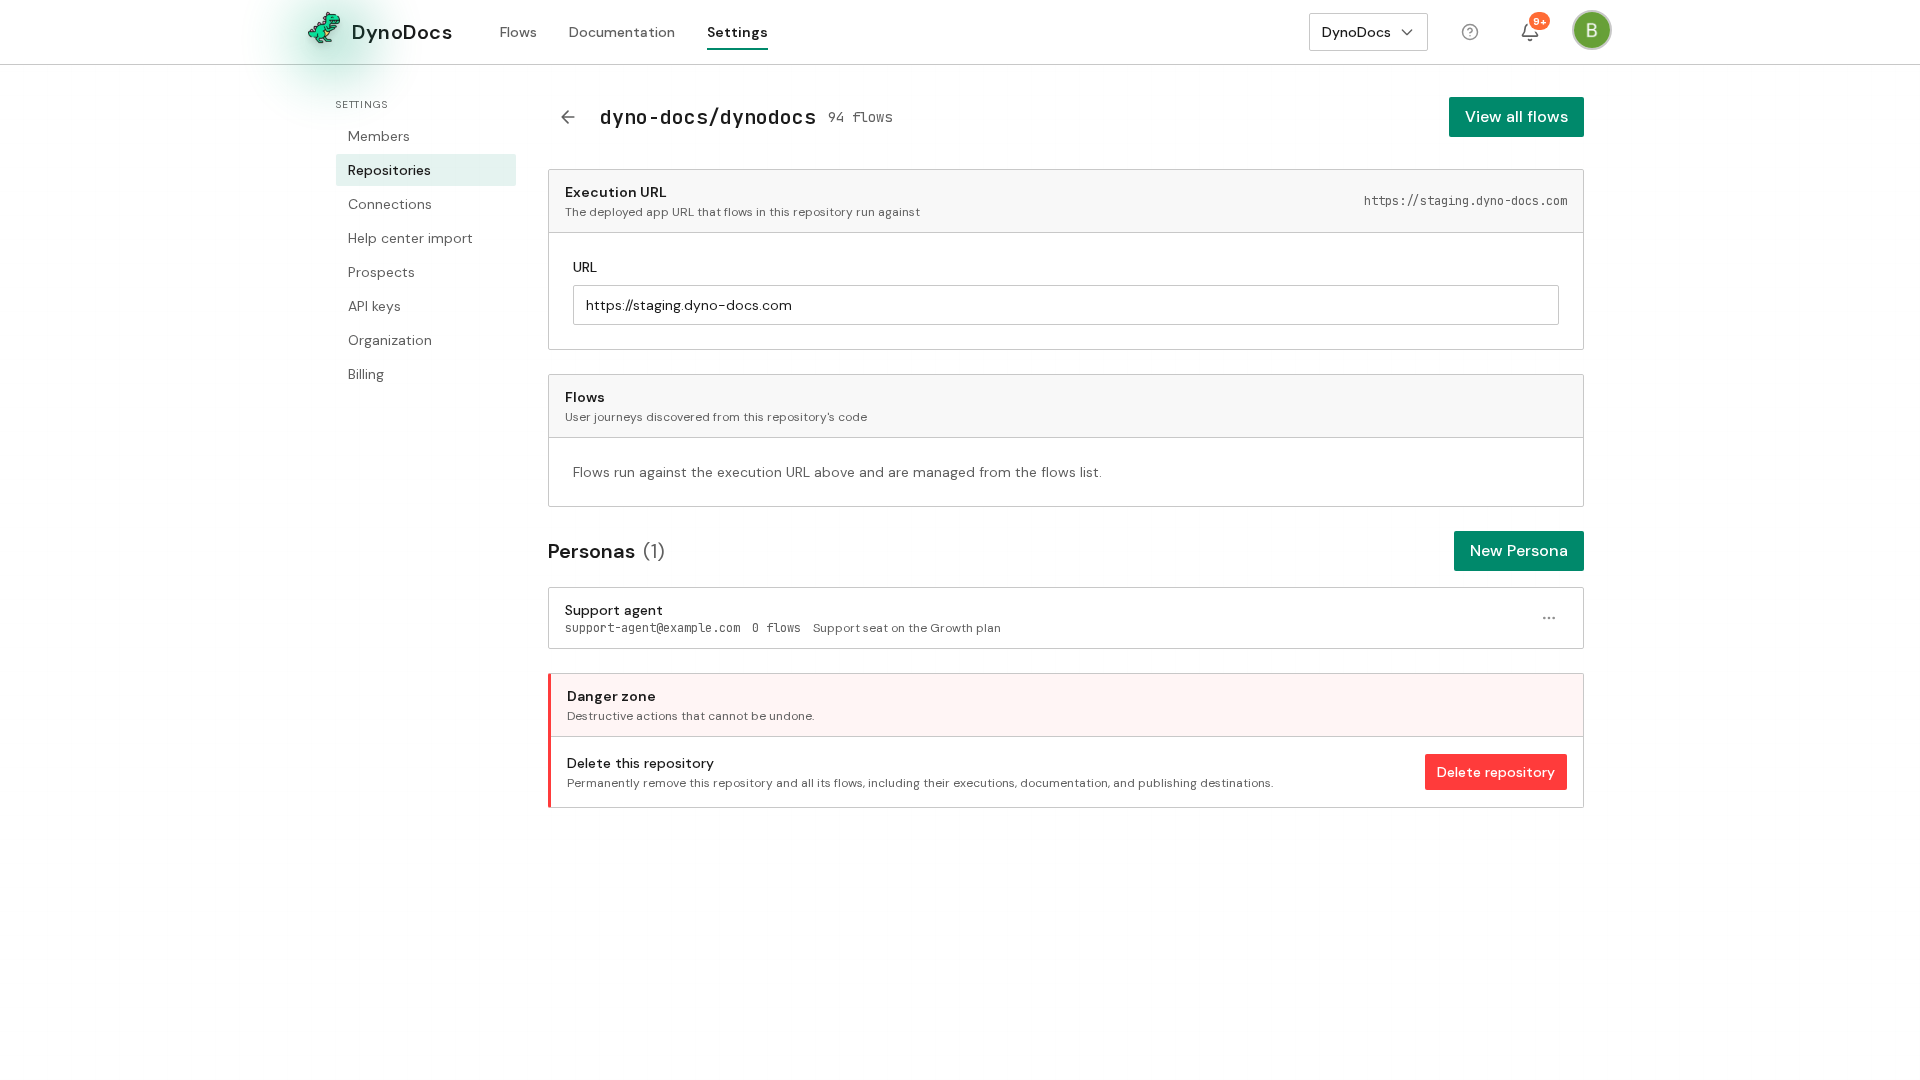
Create a persona
The repository page opens, with a Personas section further down the page. Click New Persona.
The New Persona dialog opens. In Name, type something your team will recognise at a glance, such as the plan or role the account represents.
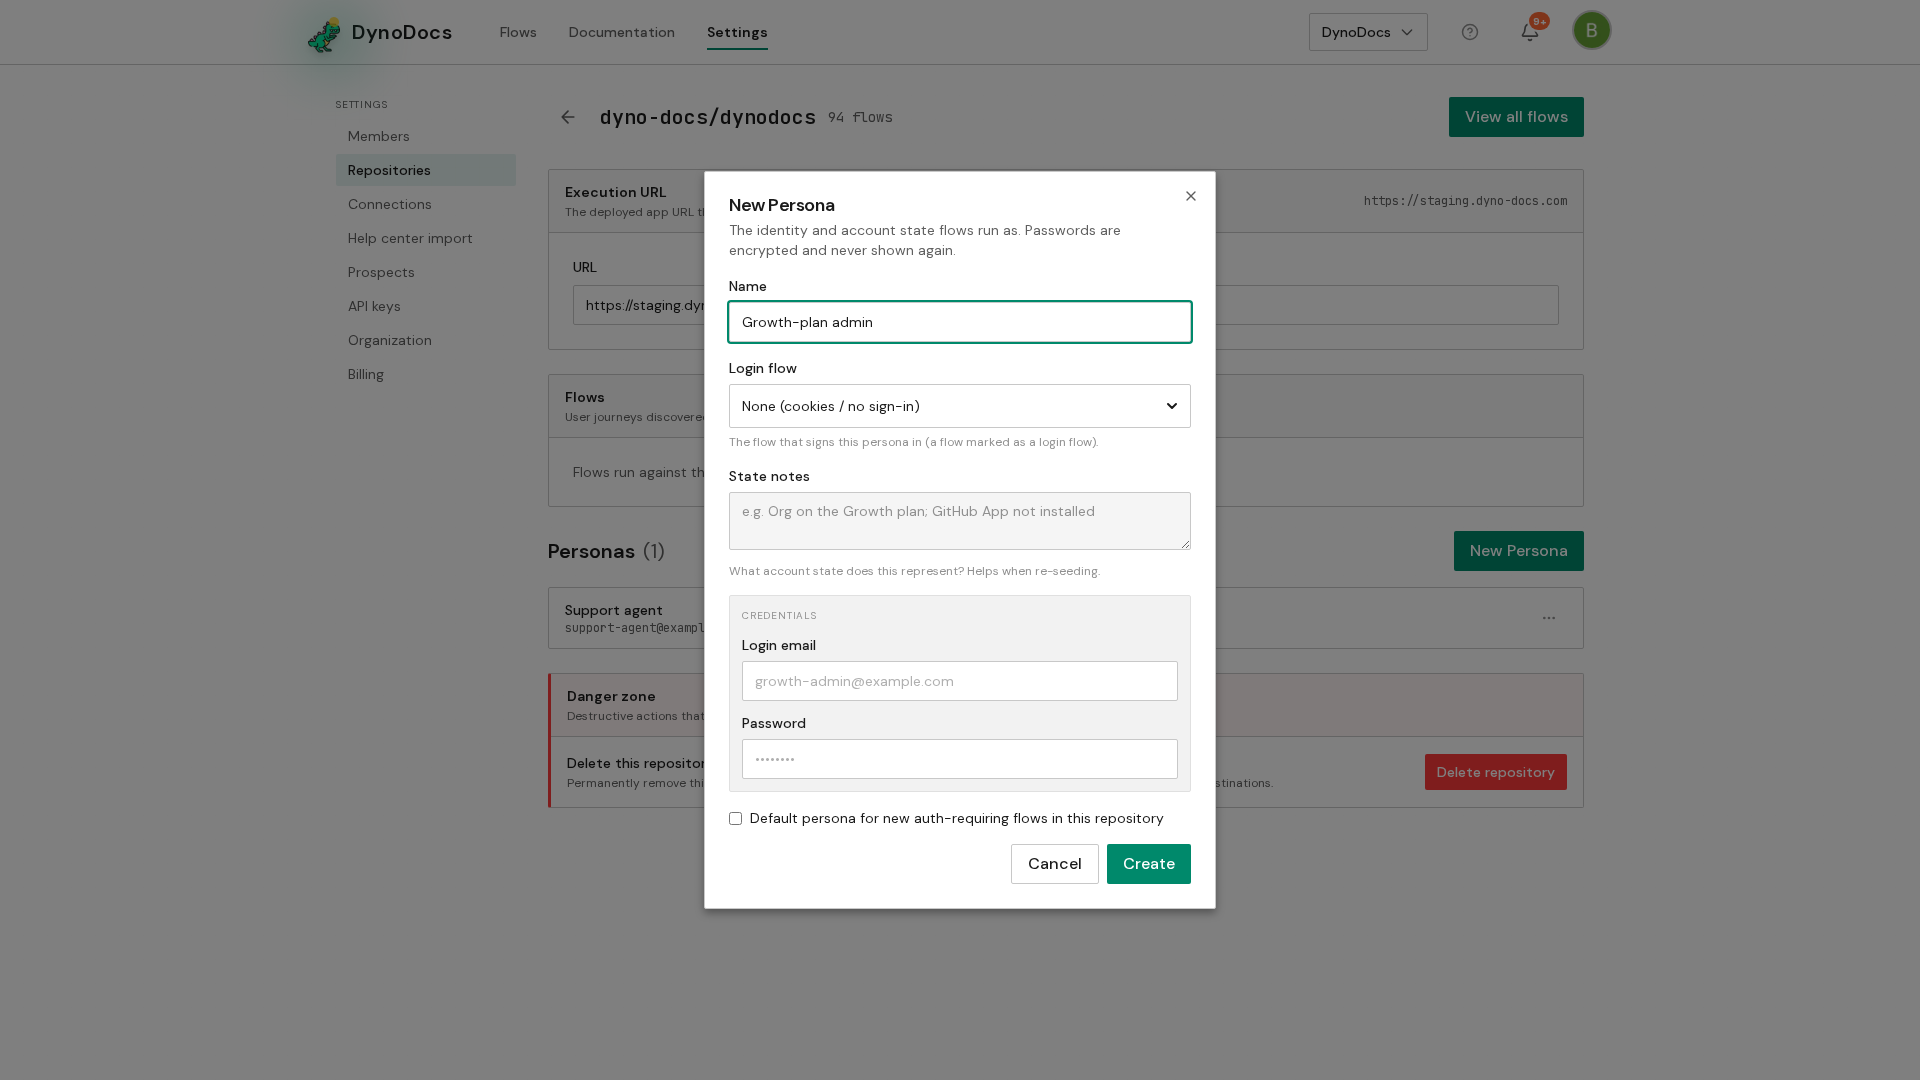
In State notes, describe the account state this persona stands for, so anyone picking it later knows what they are getting: the plan it is on, for example, or which integrations it does and does not have set up.
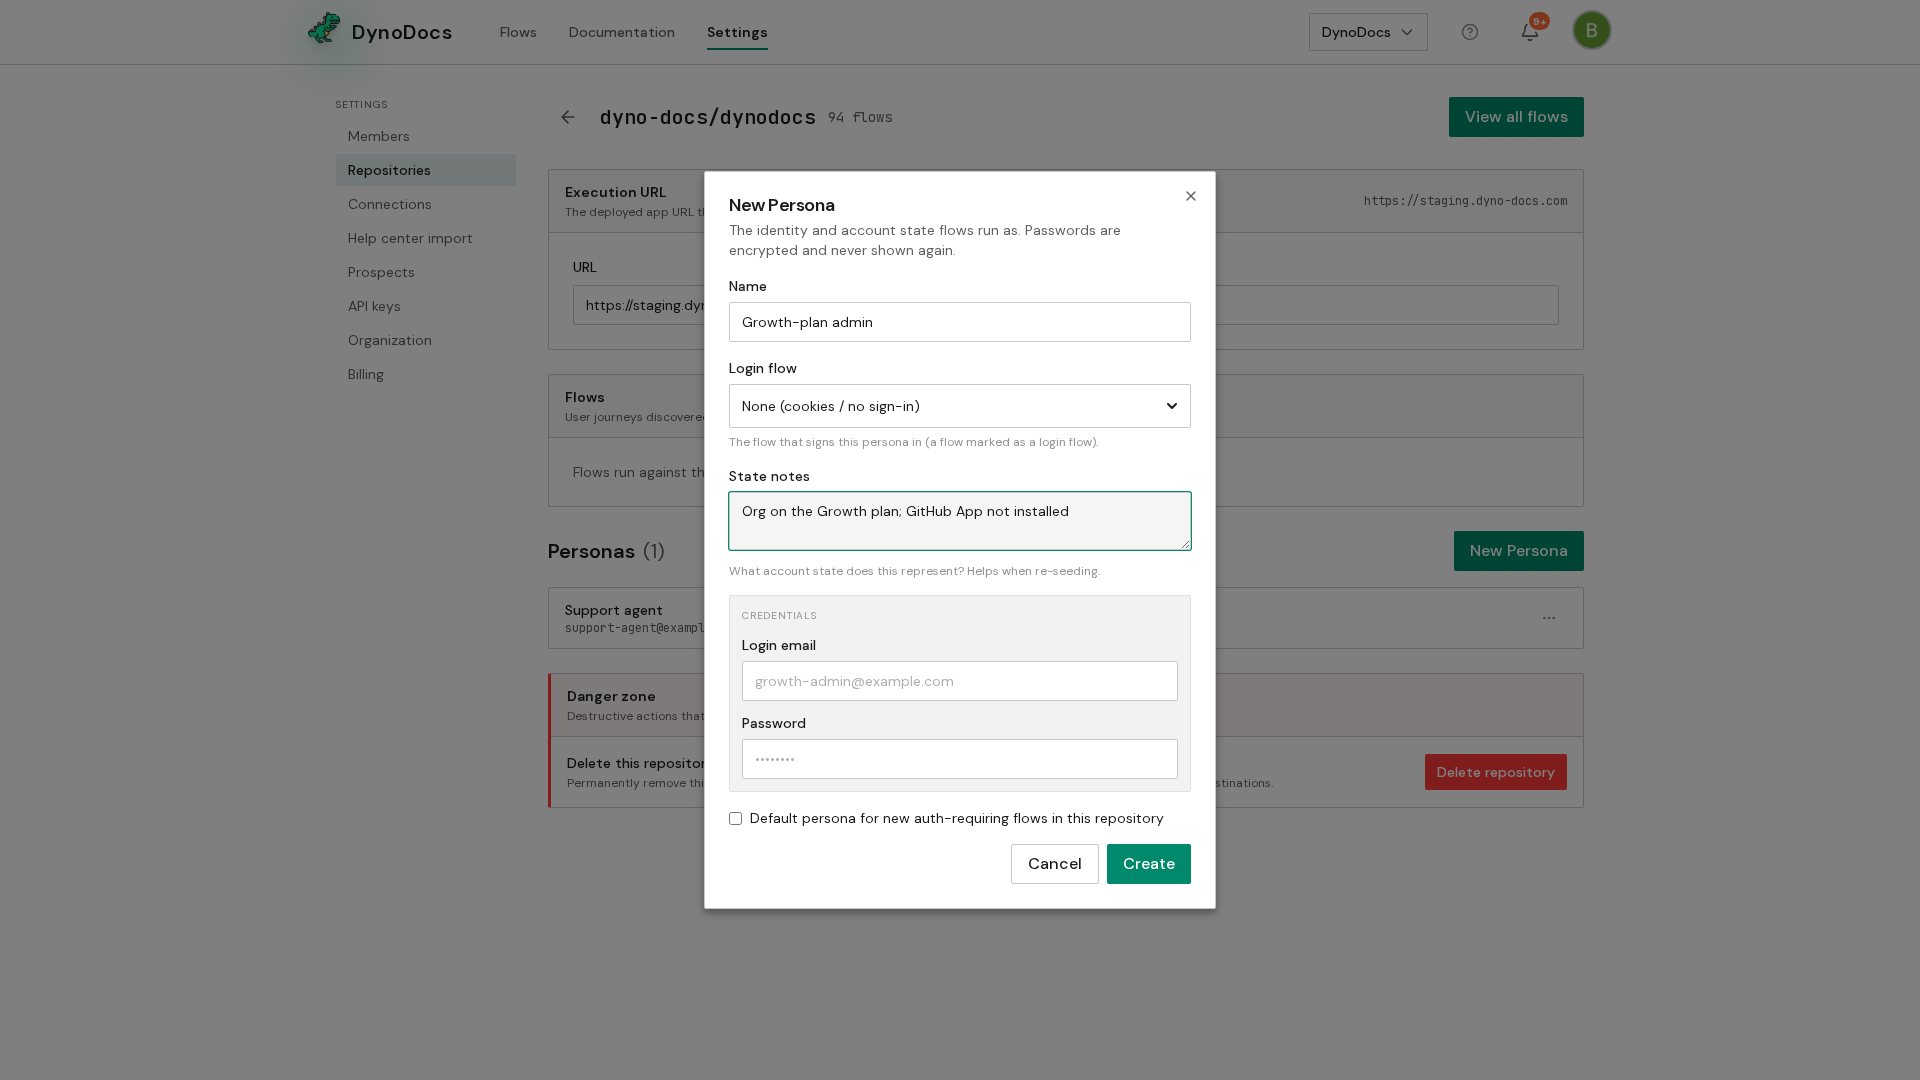
Fill in Login email with the email address this account signs in with, and Password with that account's password.
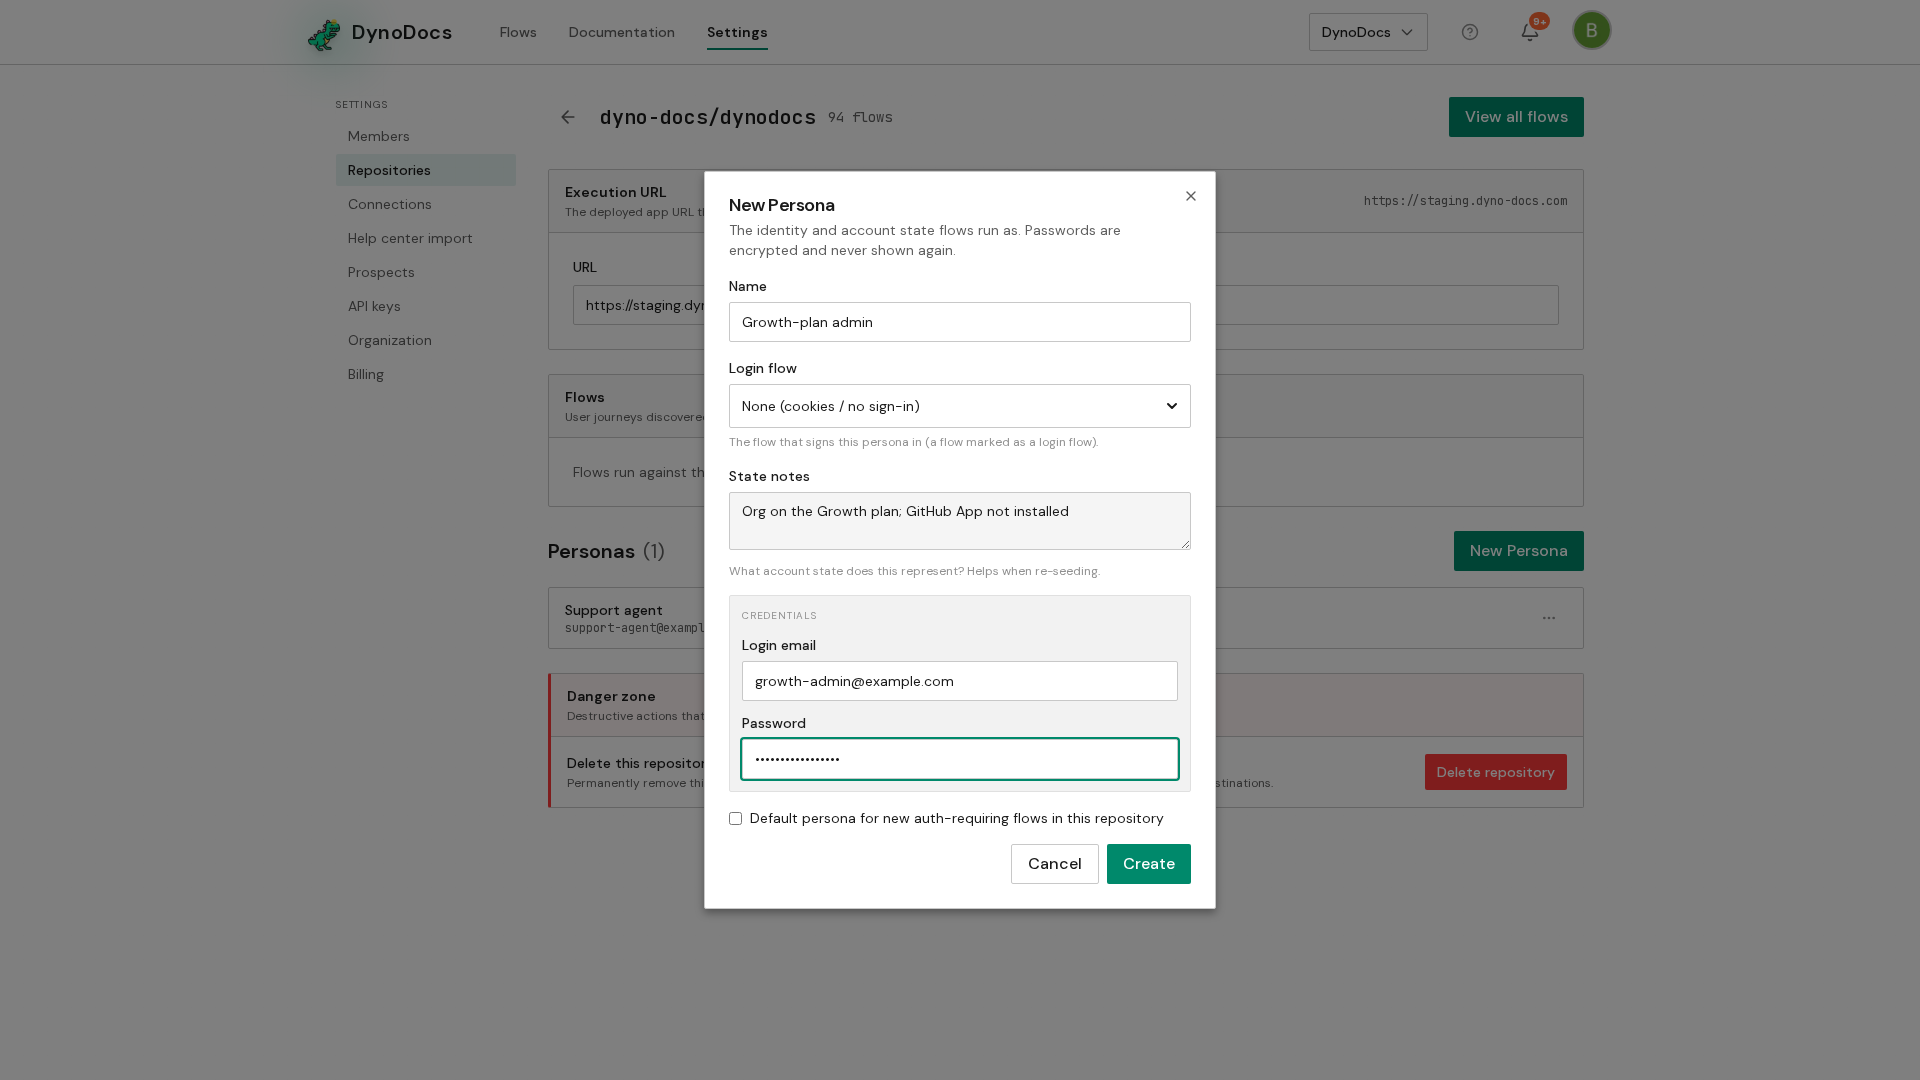
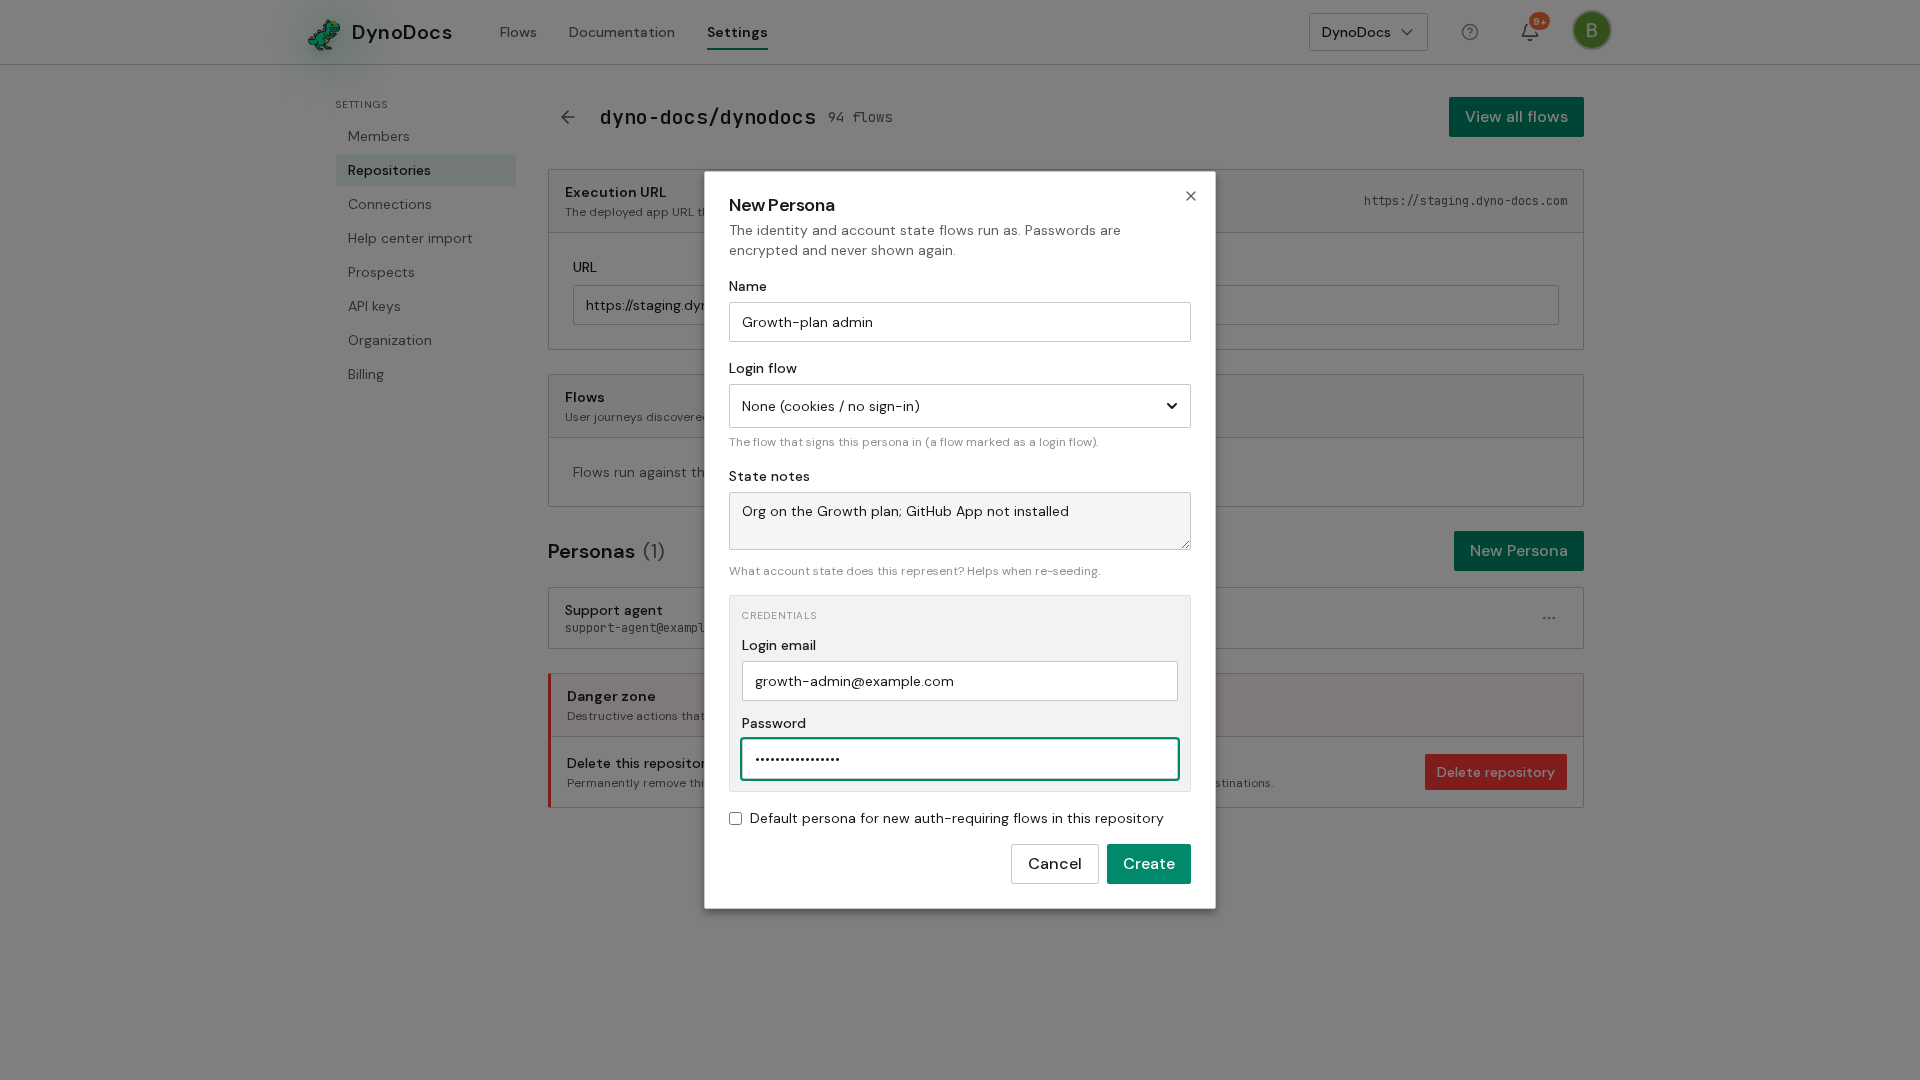
Click Create to add the persona.
Delete a persona
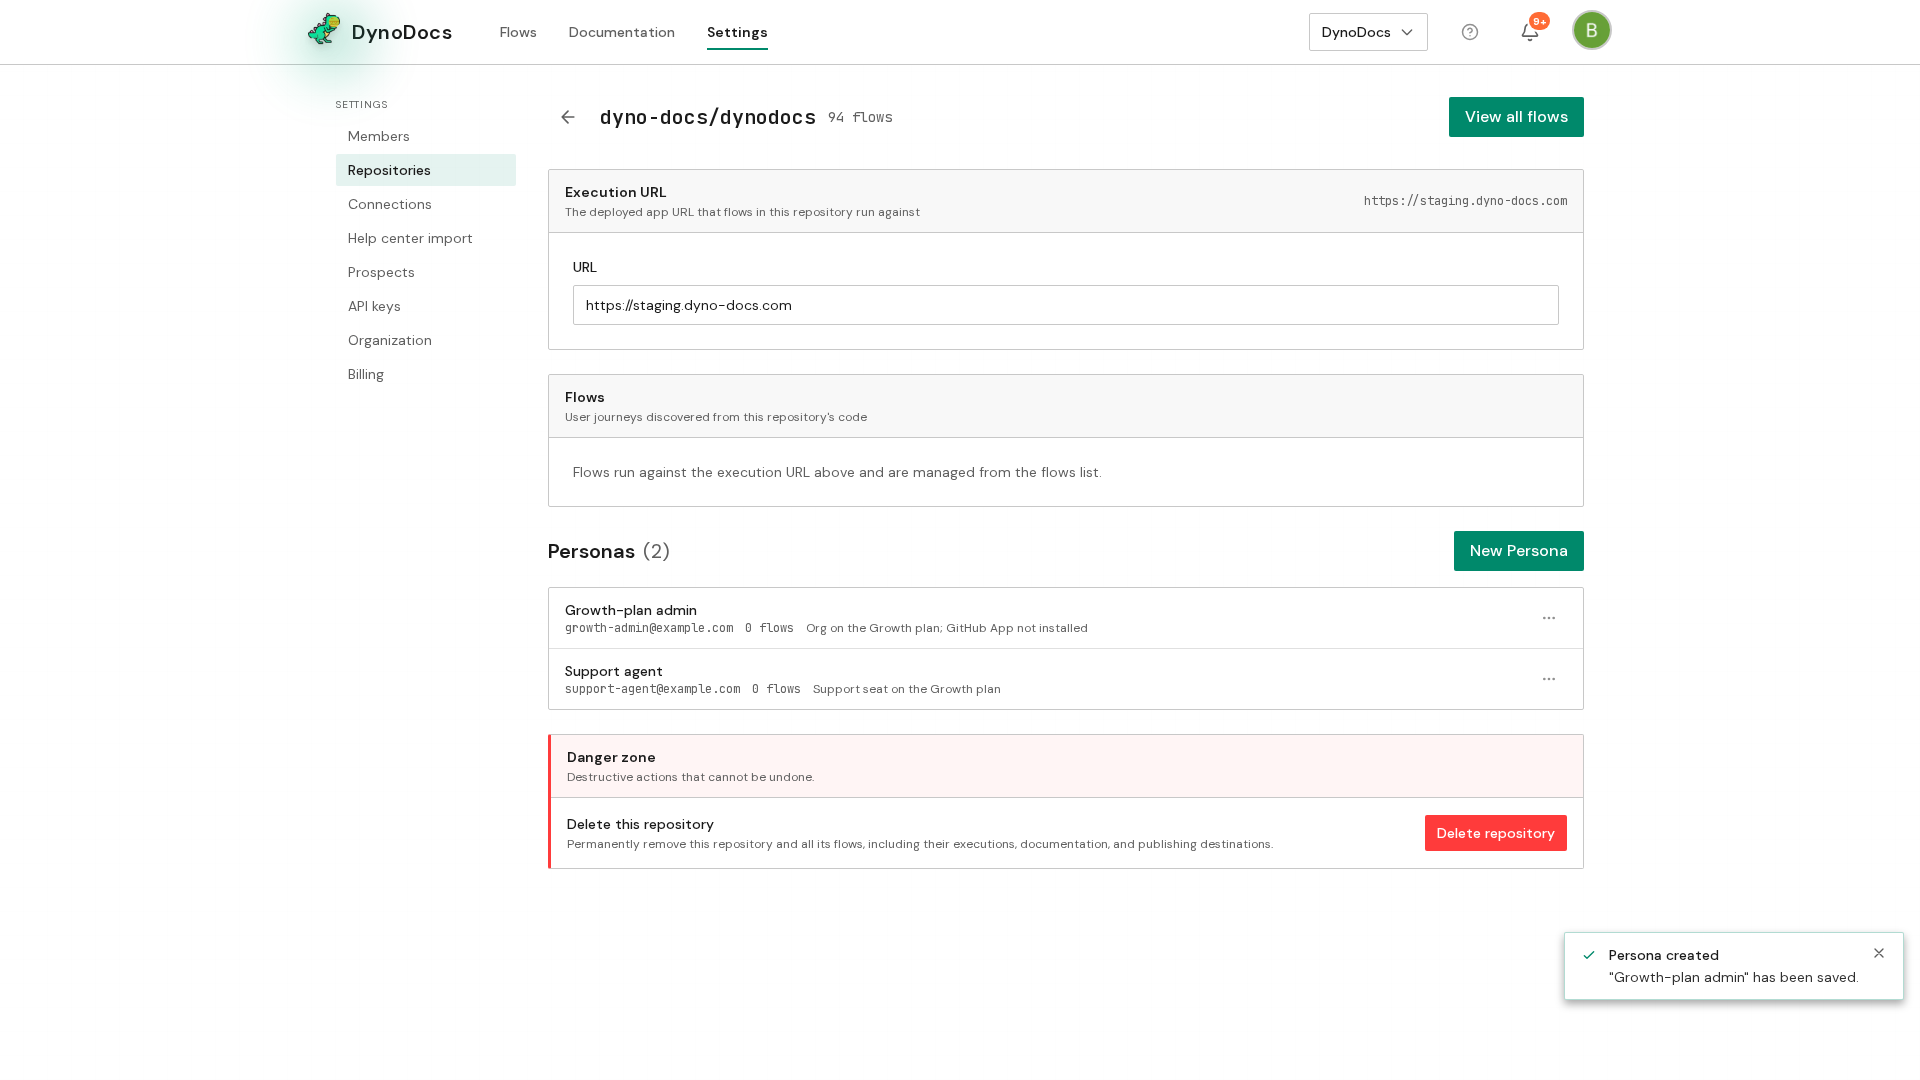
The new persona appears in the repository's Personas list. To remove one you no longer need, click the actions button at the right end of that persona's row.
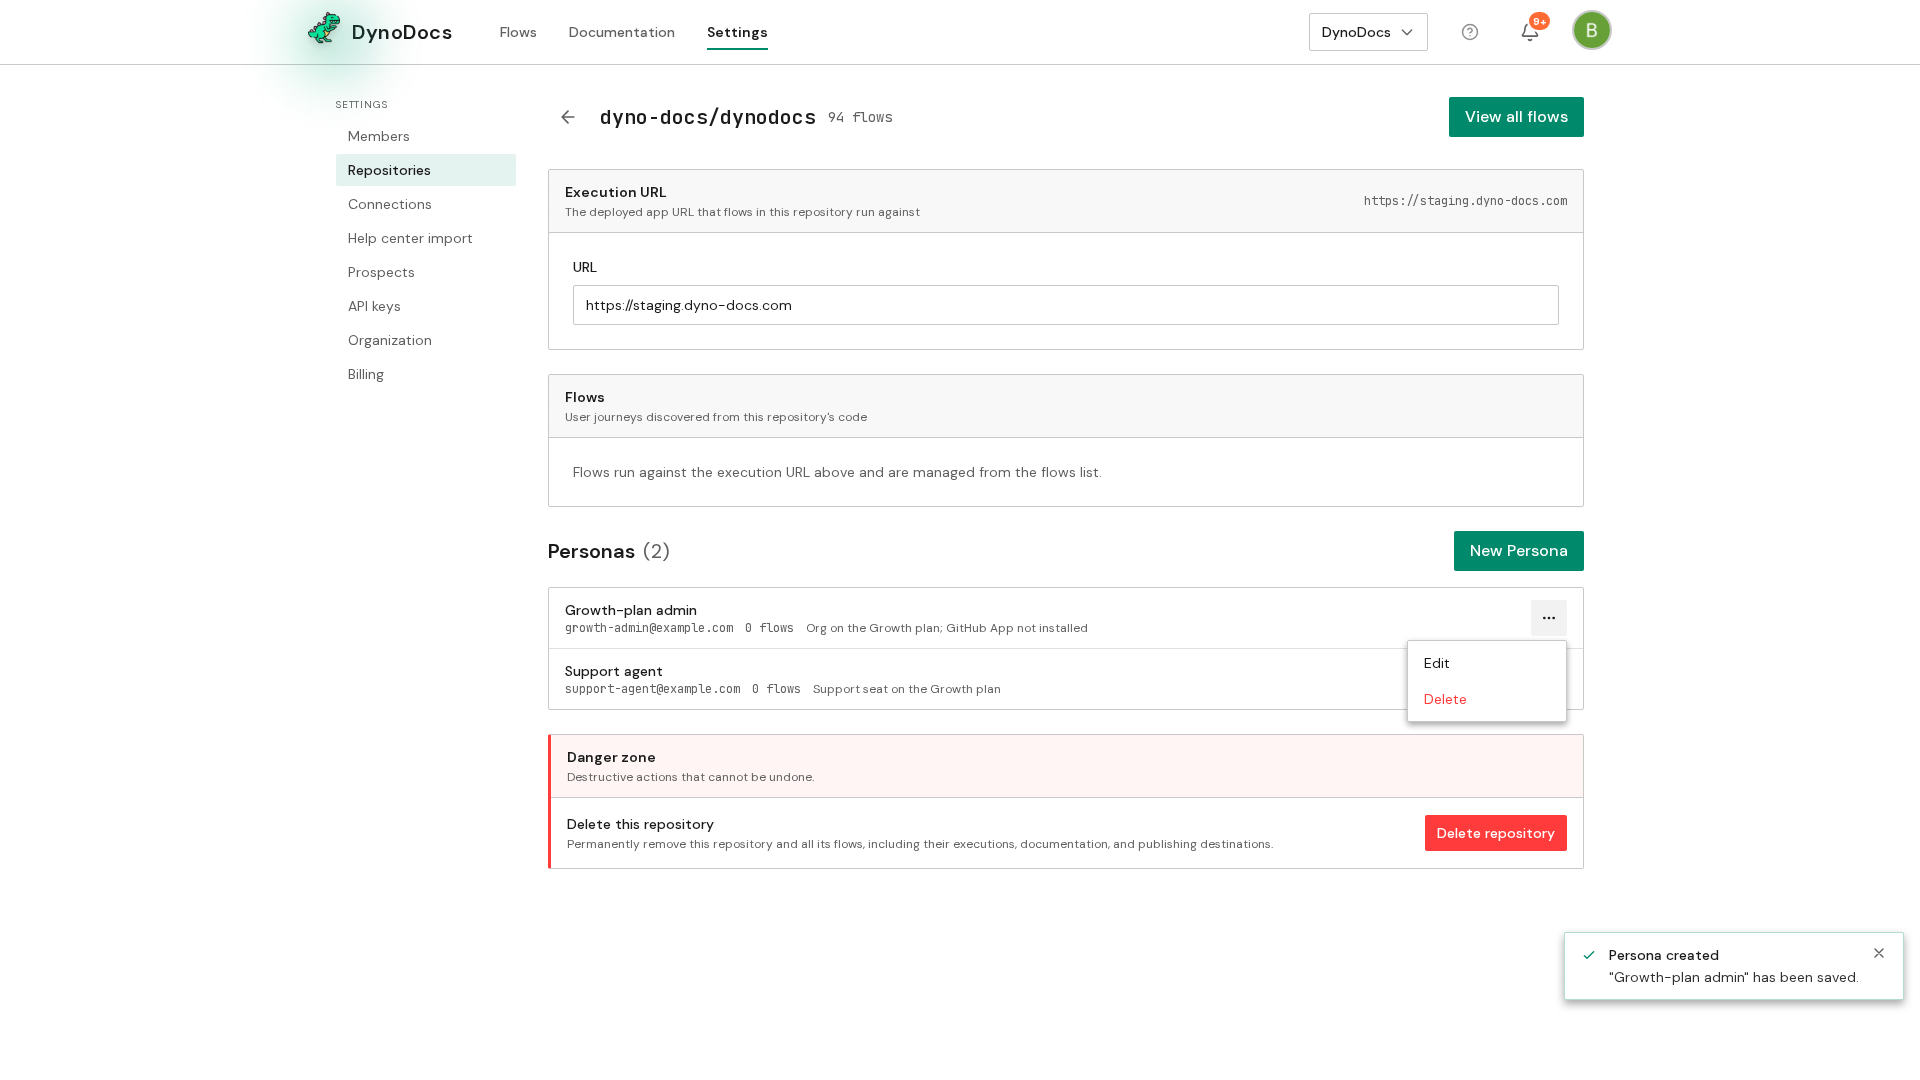
The menu offers Edit and Delete. Choose Delete.
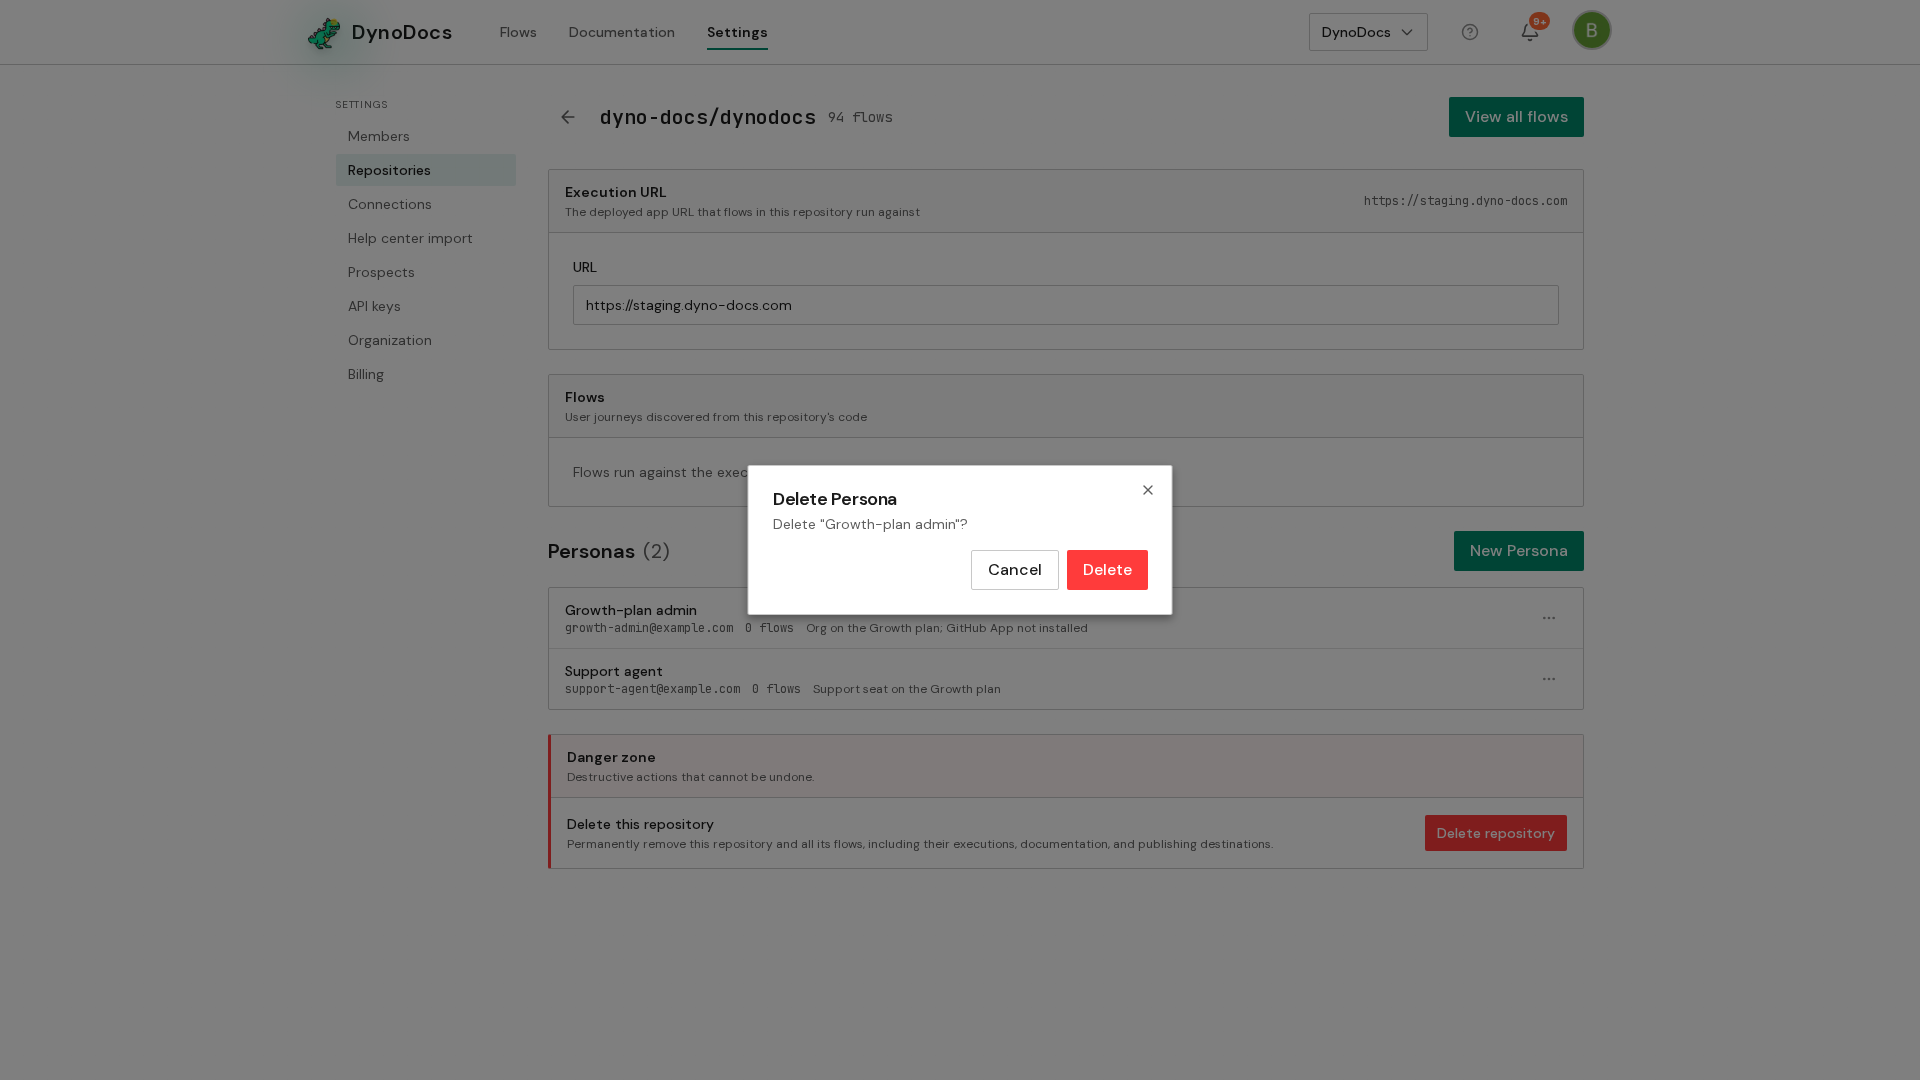
The Delete Persona dialog asks you to confirm, and warns you if any flows are using this persona. Click Delete to go ahead.
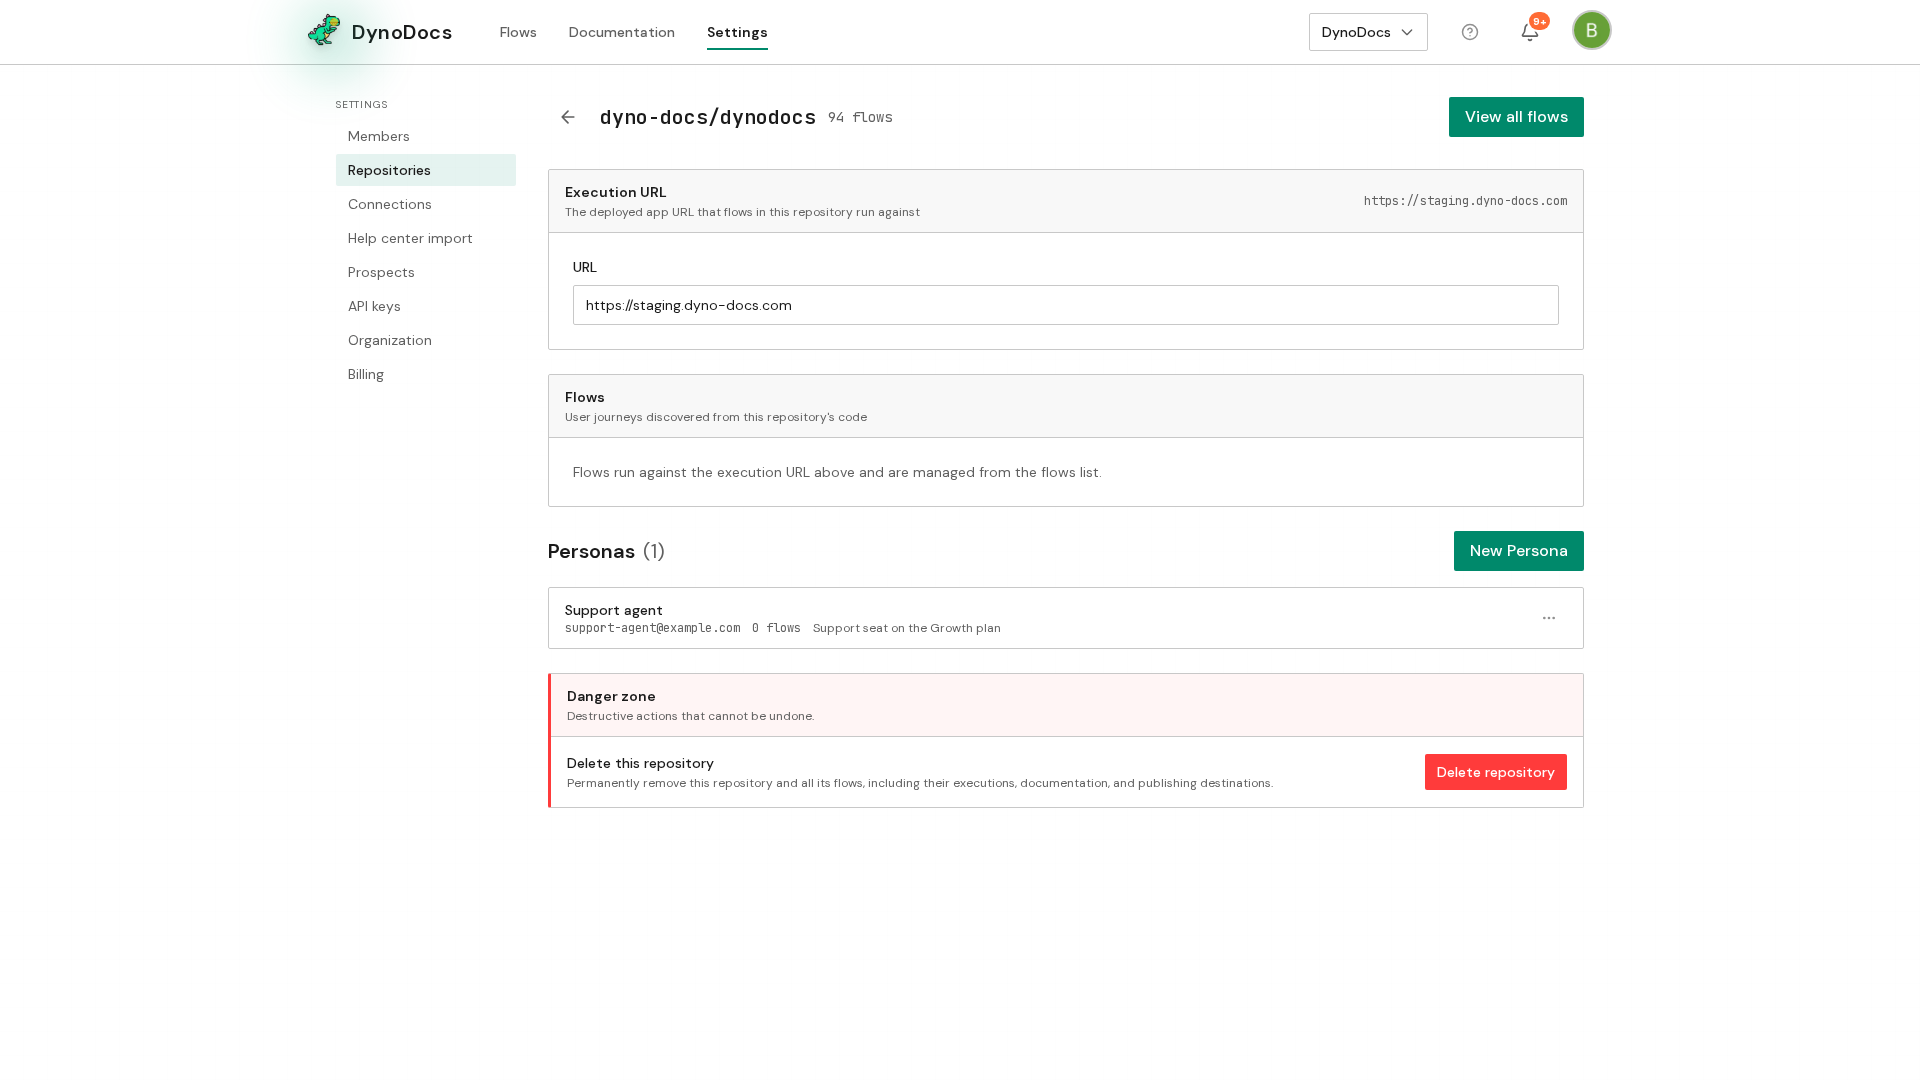
The persona is removed from the repository's Personas list.
Prerequisites
- A repository already connected to your DynoDocs organization
- The login email and password of the account the persona will sign in as
Troubleshooting
- The delete dialog warns that flows are using the persona: those flows sign in as it, so pick a replacement persona for them before you confirm.