
Publishing destinations are set per flow, on the flow's Publishing tab. Before you start, your organization needs a Zendesk help center already connected in DynoDocs. If none is listed when you get to the connection step, an admin has to add one under Settings, Connections first.
Open the flow's Publishing tab
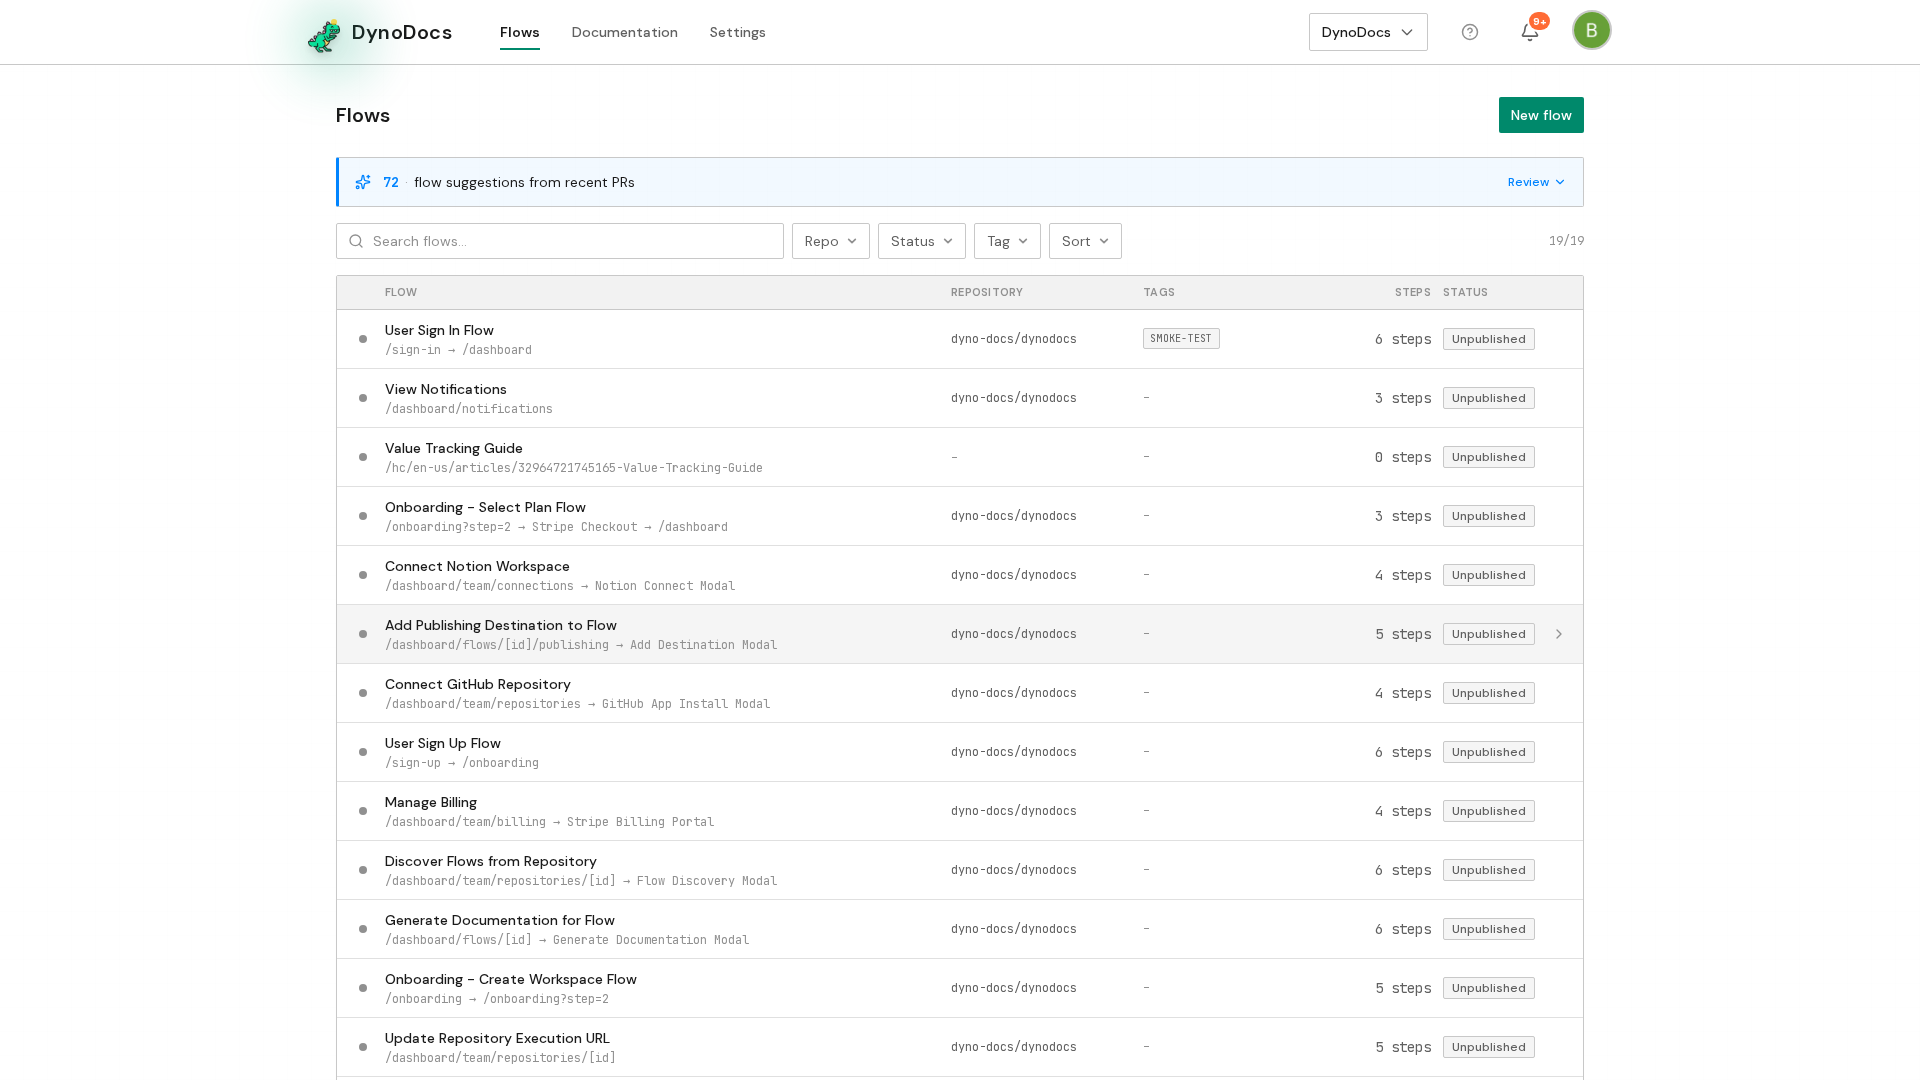
Your flows are listed. Open the flow whose guide you want to publish.
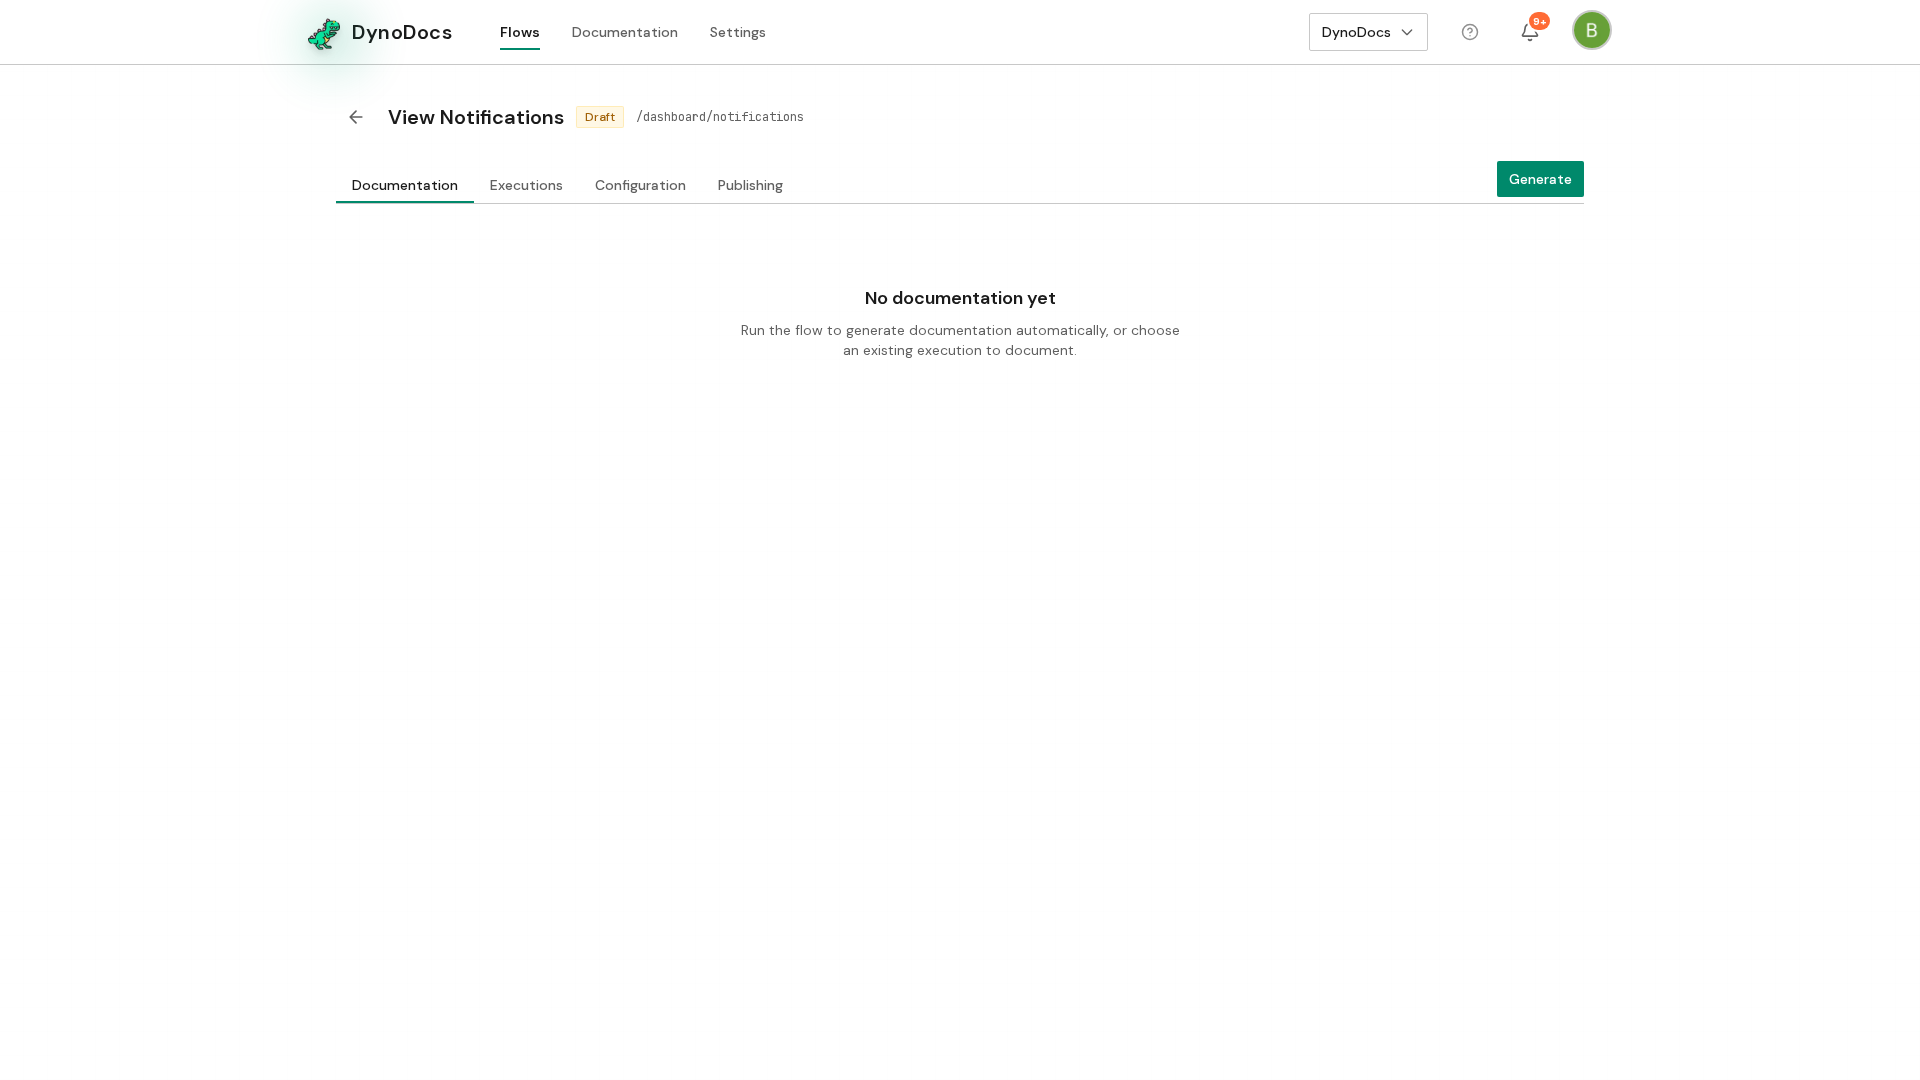
The flow opens with its guide shown first, and Executions, Configuration and Publishing alongside it. Open the Publishing tab, which lists where this flow's guides are published.
Add Zendesk as a destination
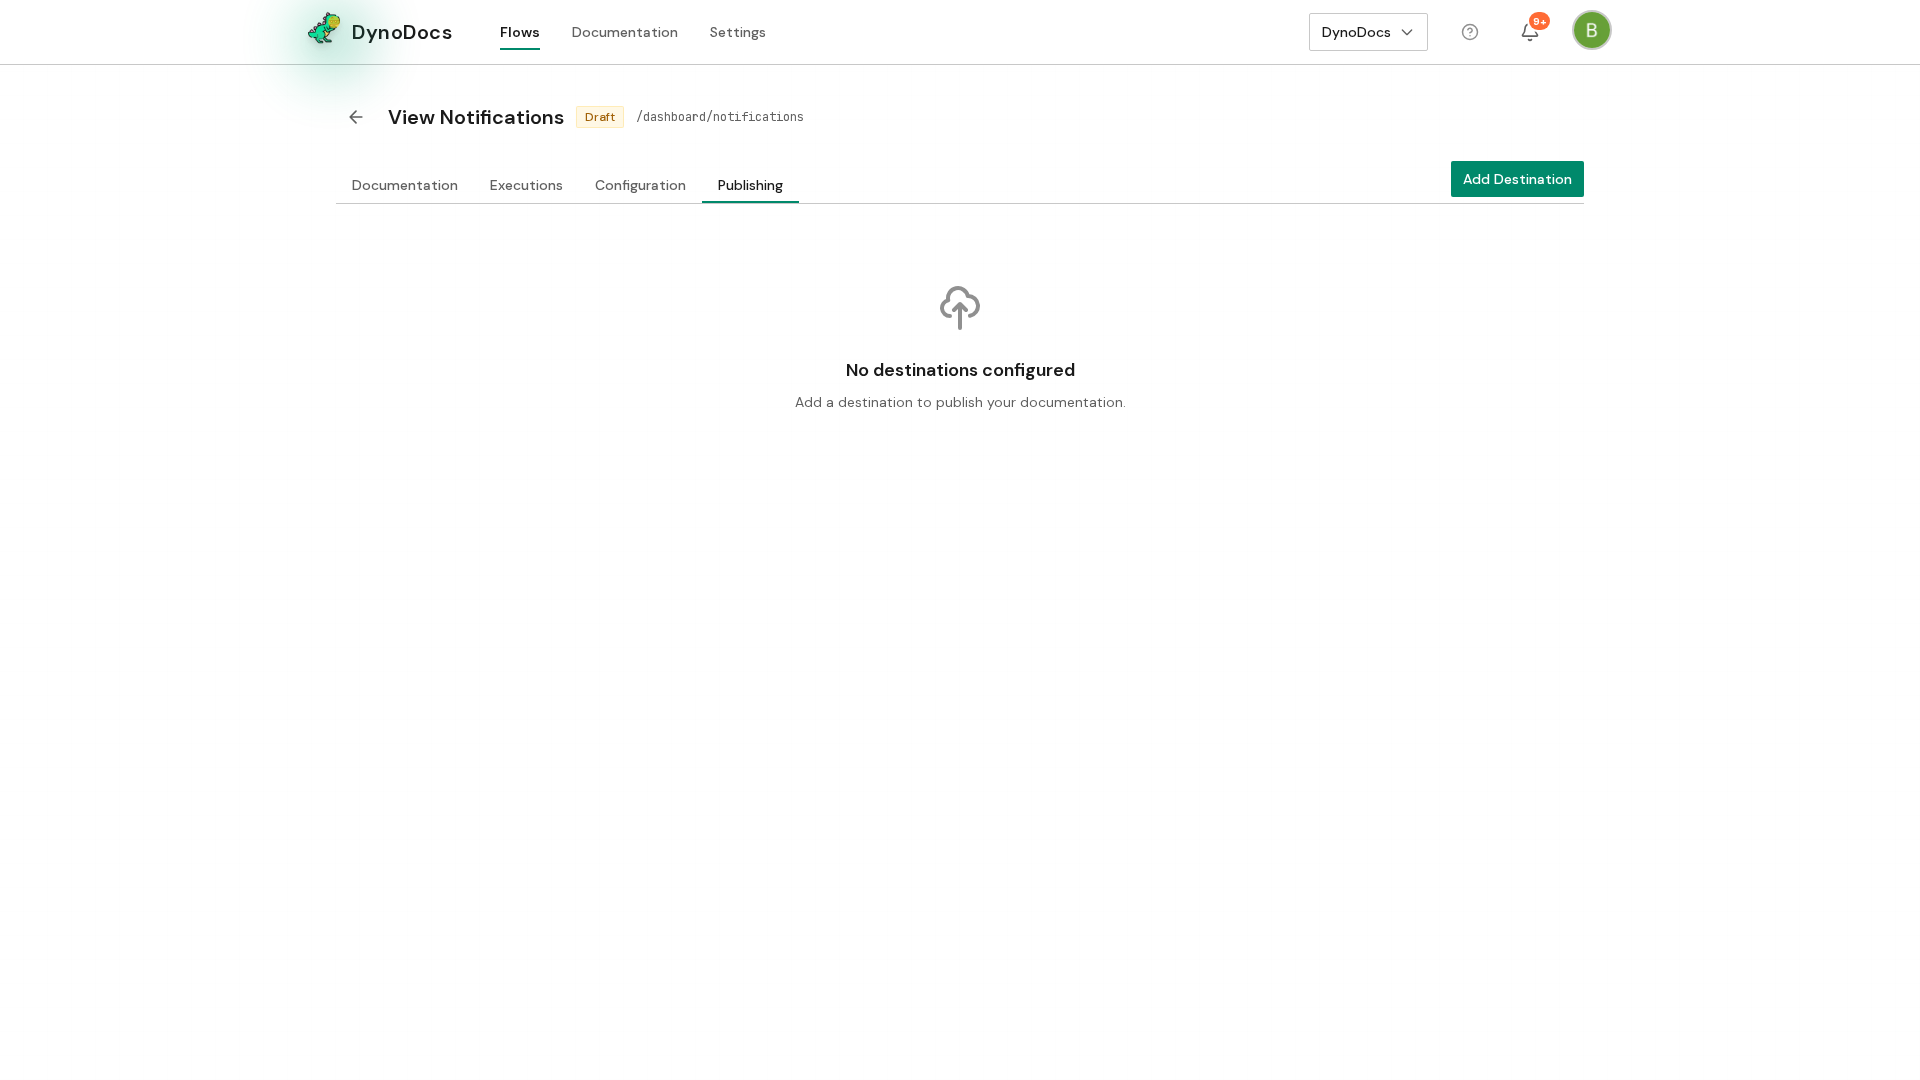
On the Publishing tab, click Add Destination.
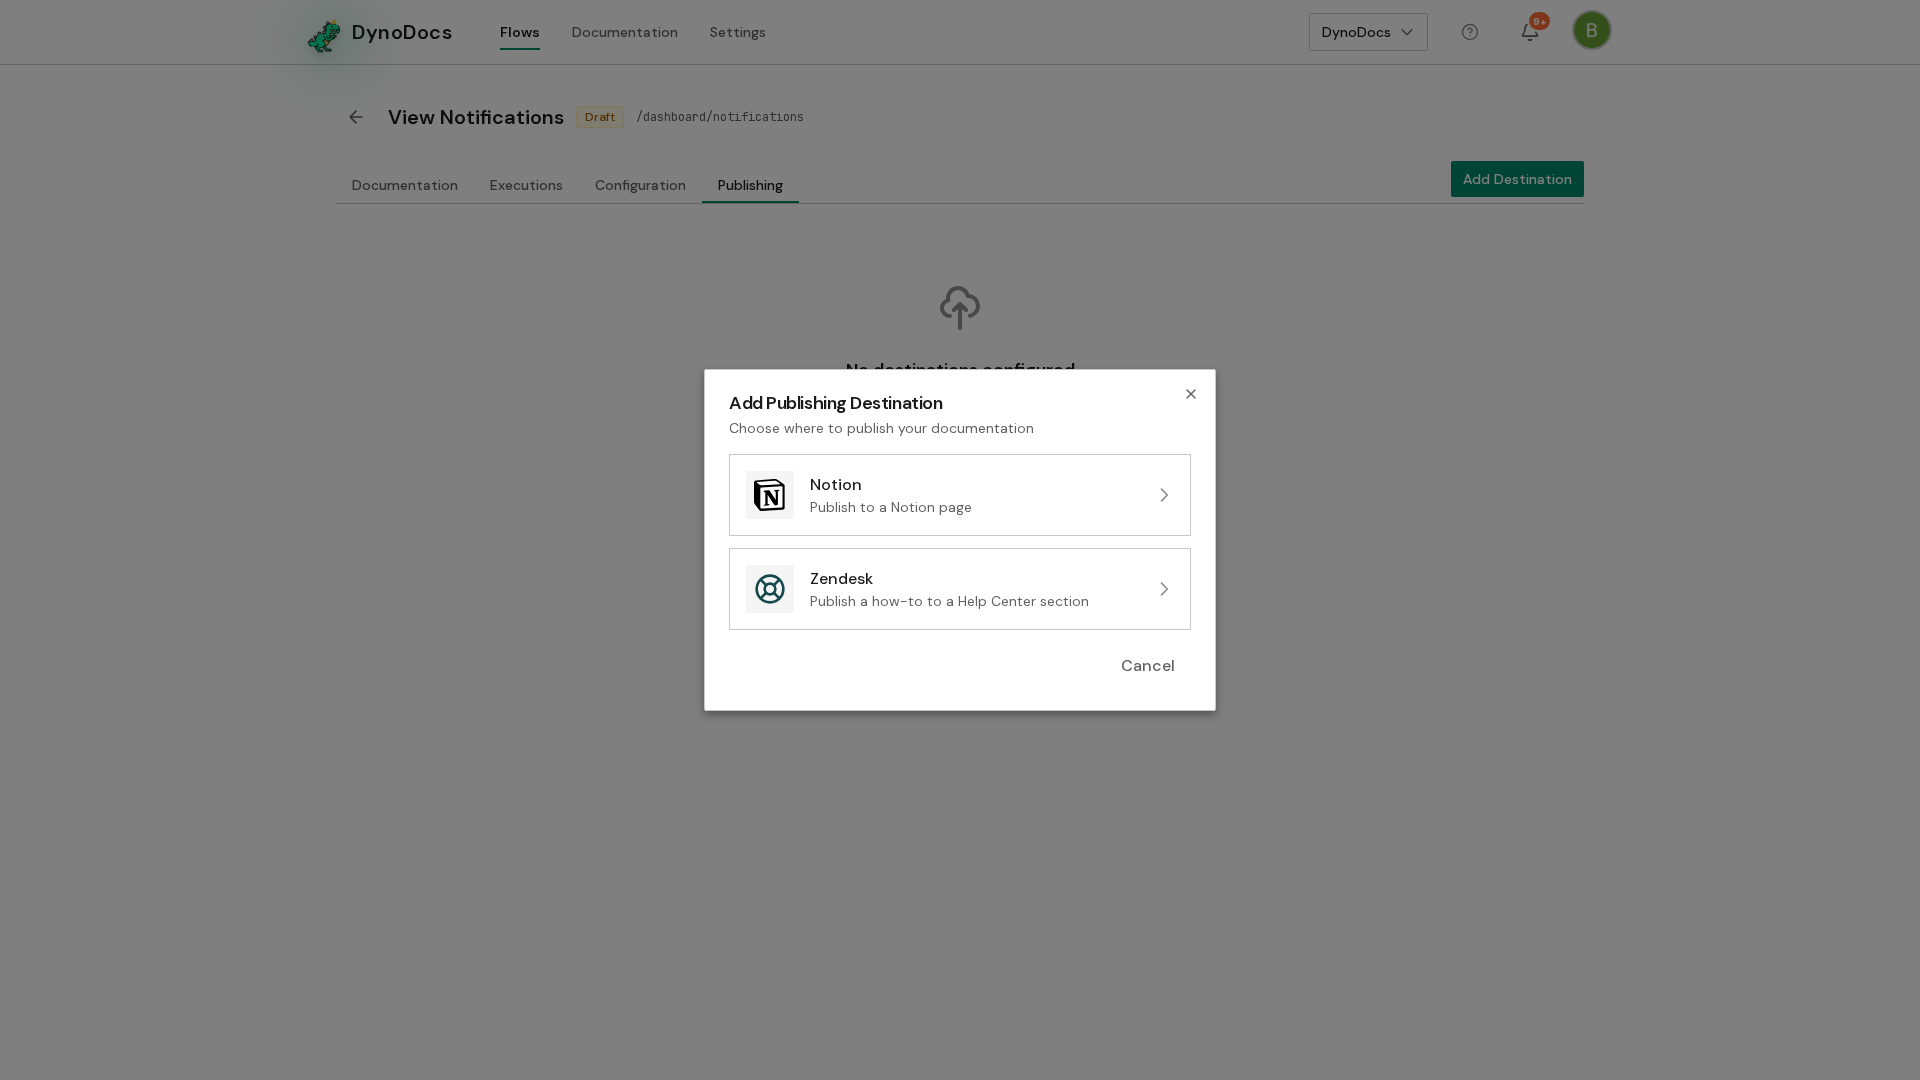
A dialog titled Add Publishing Destination asks where you want to publish. Choose Zendesk, the option for publishing a how-to to a Help Center section.
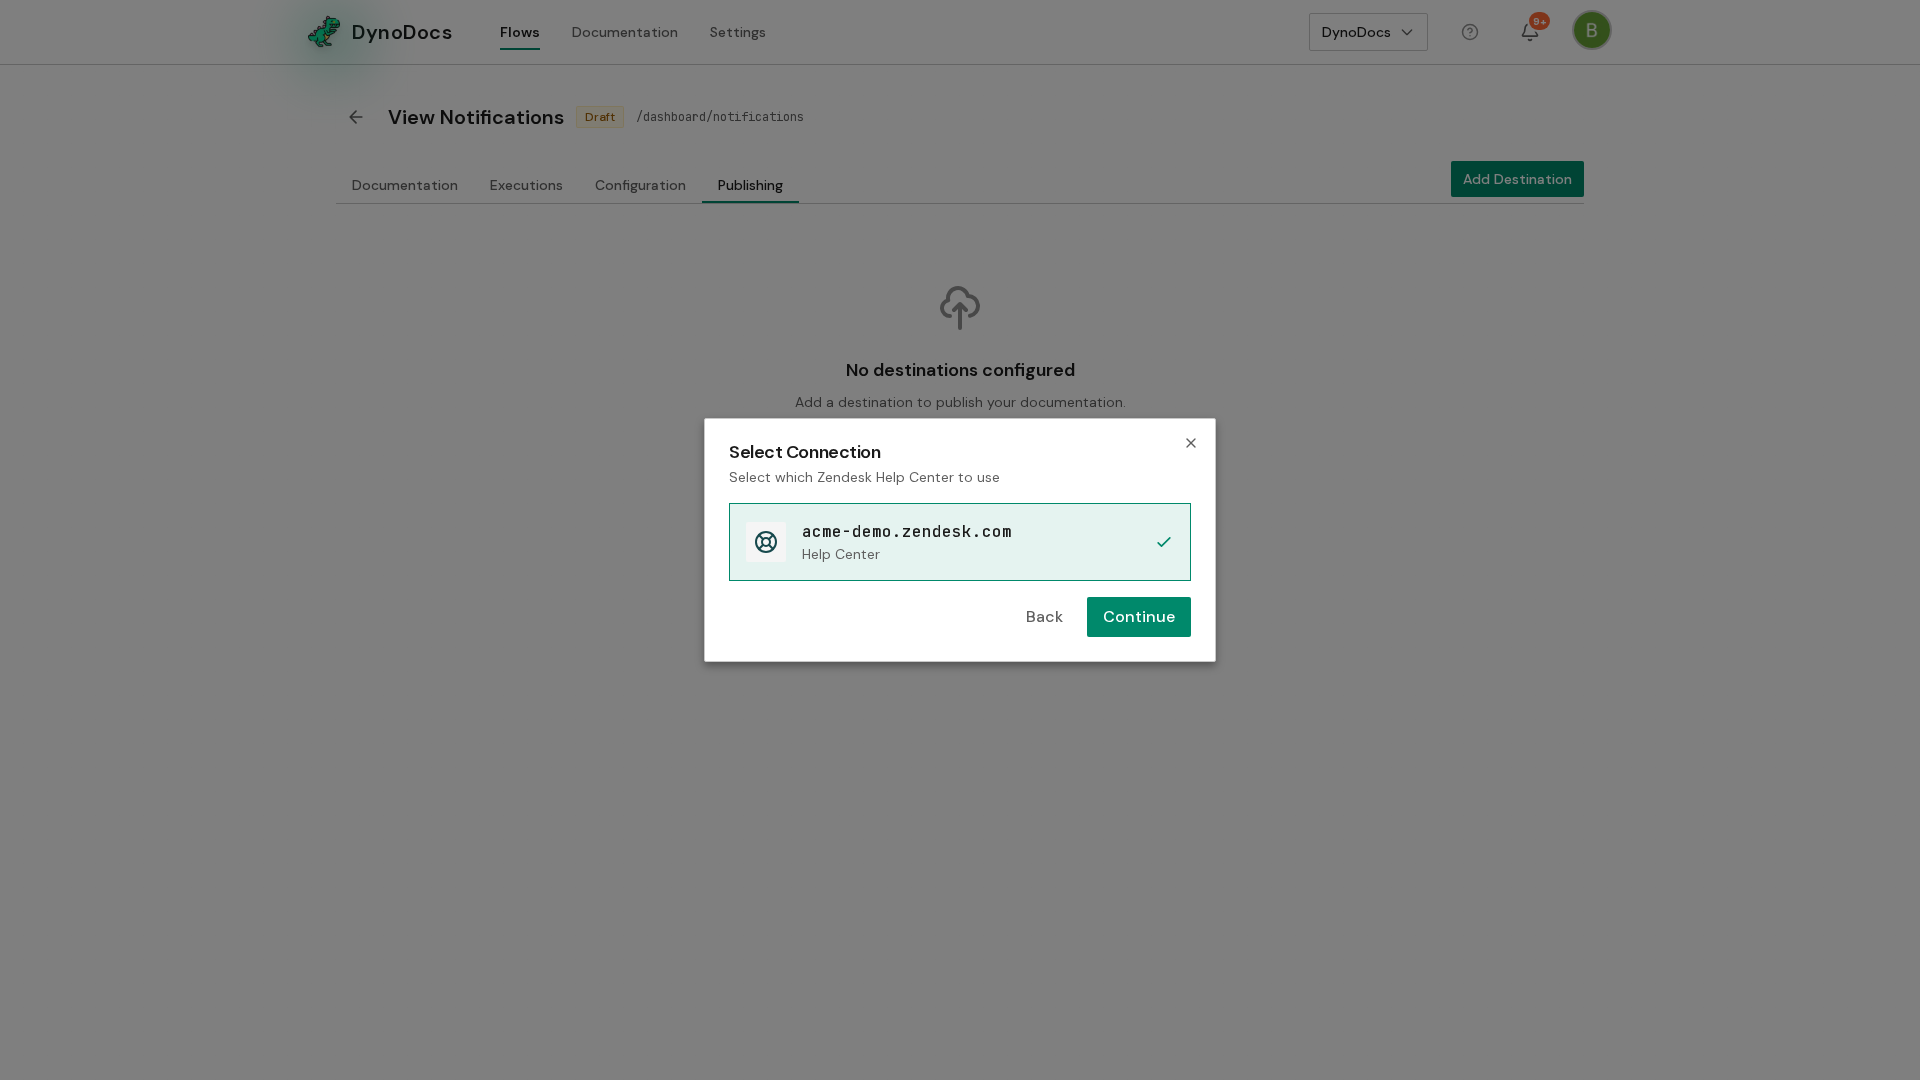
The dialog moves on to Select Connection and lists the Zendesk help centers your organization has connected. Choose the help center you want to publish to and click Continue.
Note
The screens after this ask which section the article belongs in and whether to create a new article or update an existing one. Add Destination finishes the setup.
Prerequisites
- A flow with a guide you want to publish.
- A Zendesk help center connected to your organization under Settings, Connections.
Troubleshooting
- No help centers listed under Select Connection: an admin needs to connect a Zendesk help center under Settings, Connections before you can add the destination.