How to create a flow manually

Define a new flow by hand when you already know its name, route, and purpose, instead of relying on AI or automatic discovery.

Last verified 4 days ago

When you create a flow, the modal defaults to an AI-chat experience that can help you define things conversationally. If you already know the flow's name, route, and purpose, you can skip that and use manual entry instead. This gives you a simple form to fill in the details yourself and get the flow created quickly.

Open the manual creation form

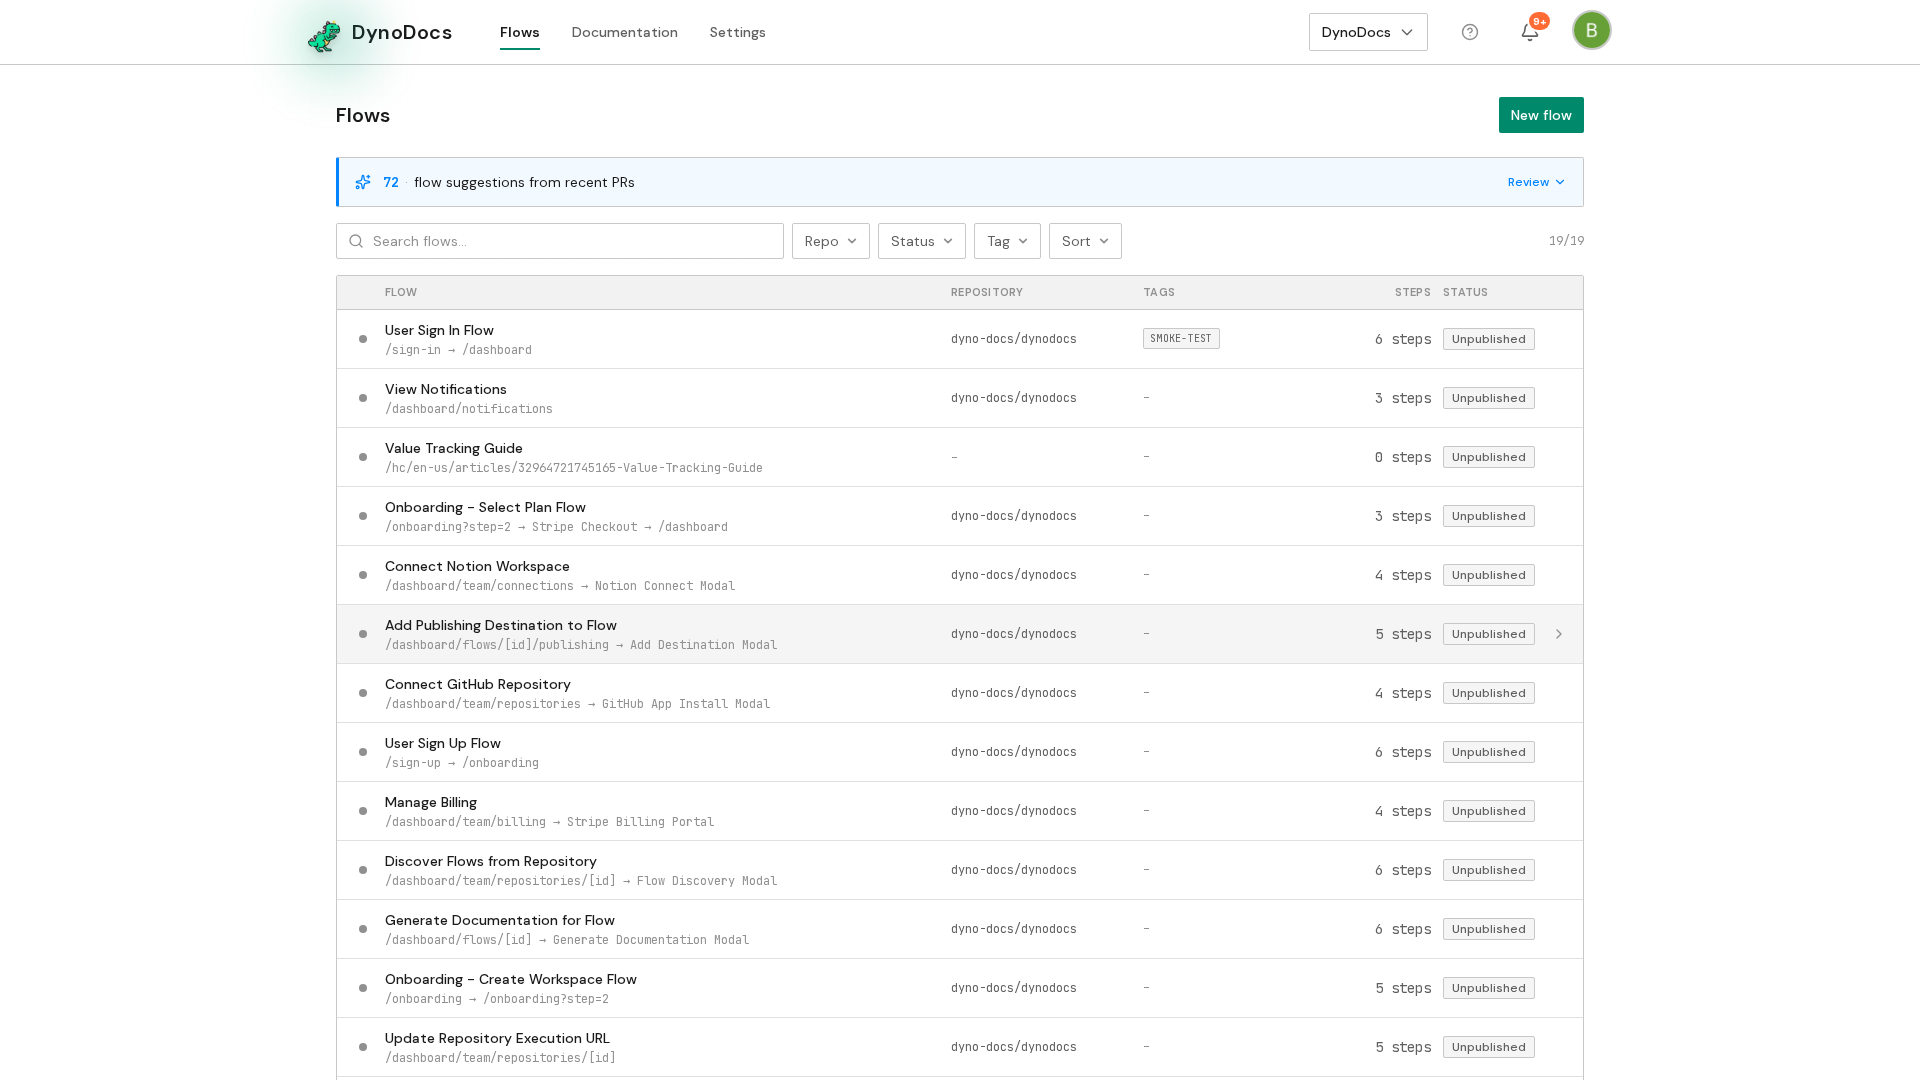
From the flows dashboard, click the button to open the create-flow modal.
Step screenshot
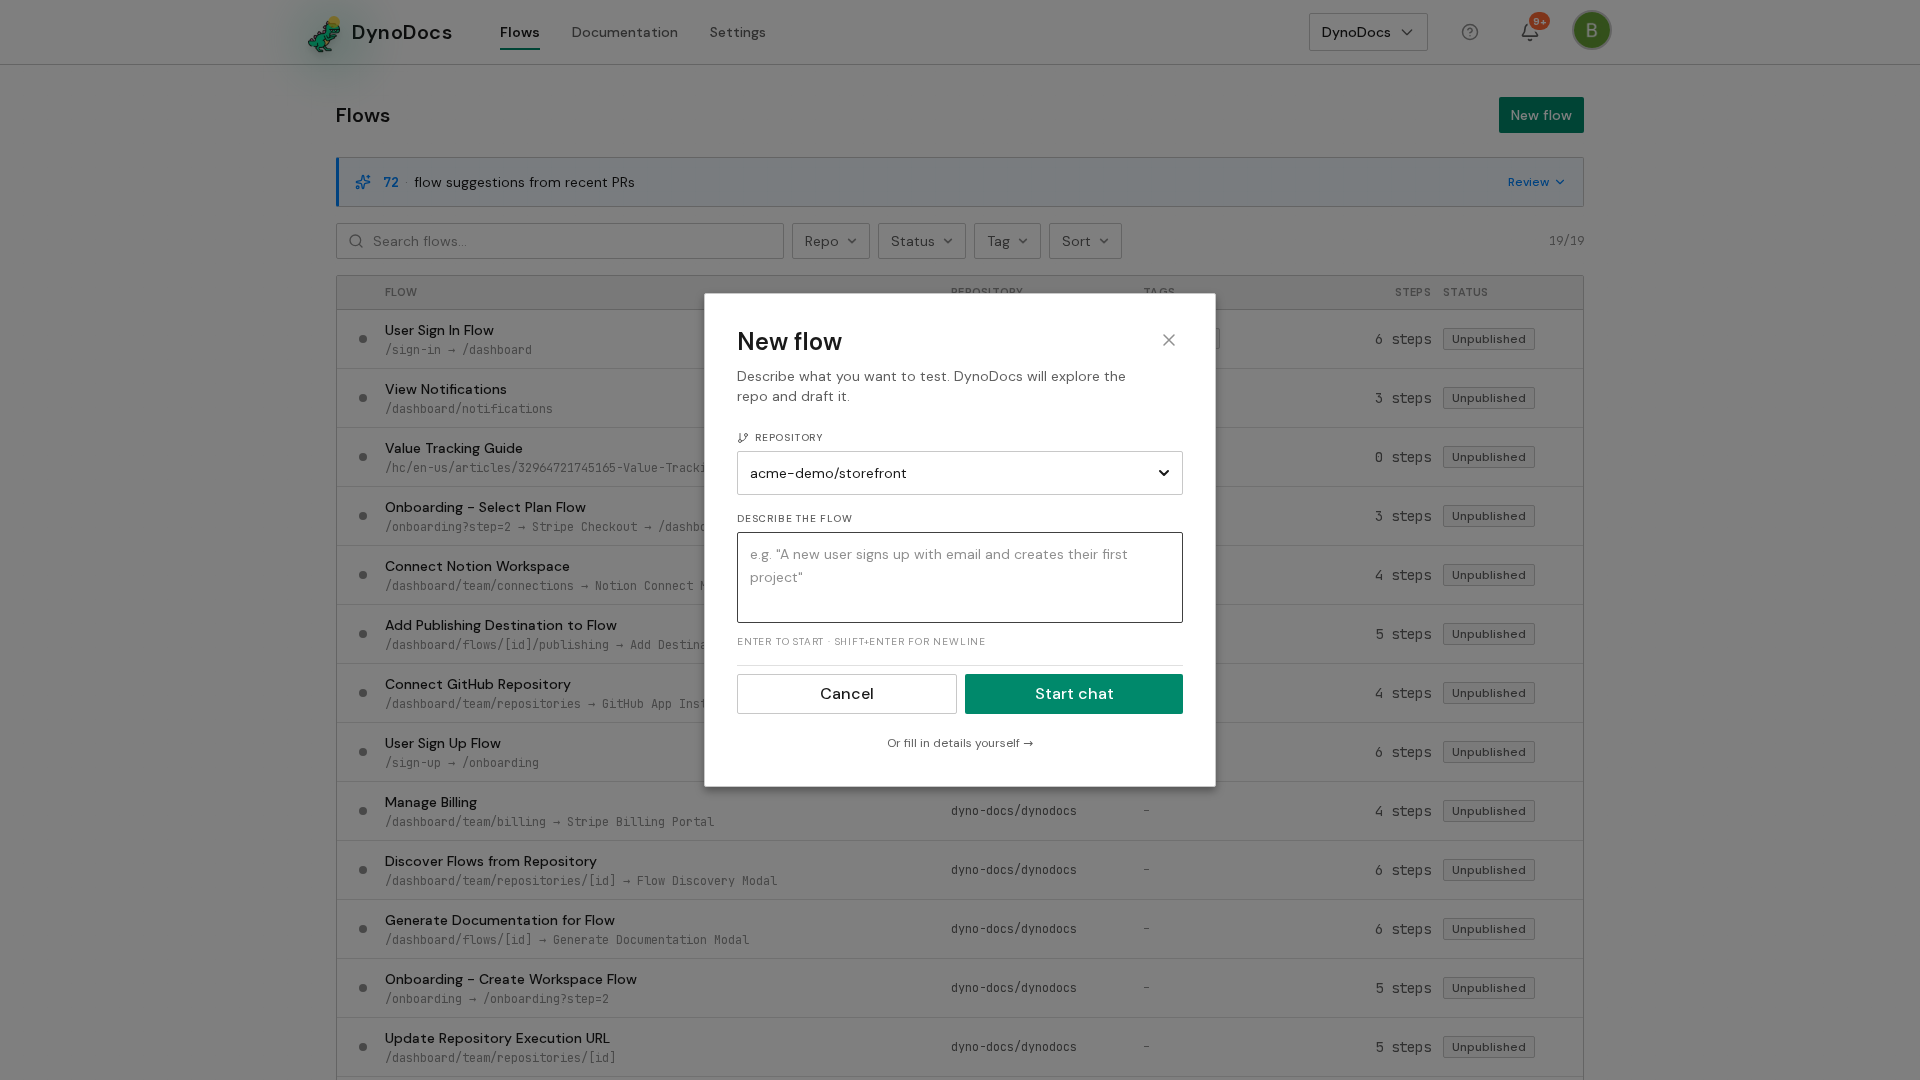
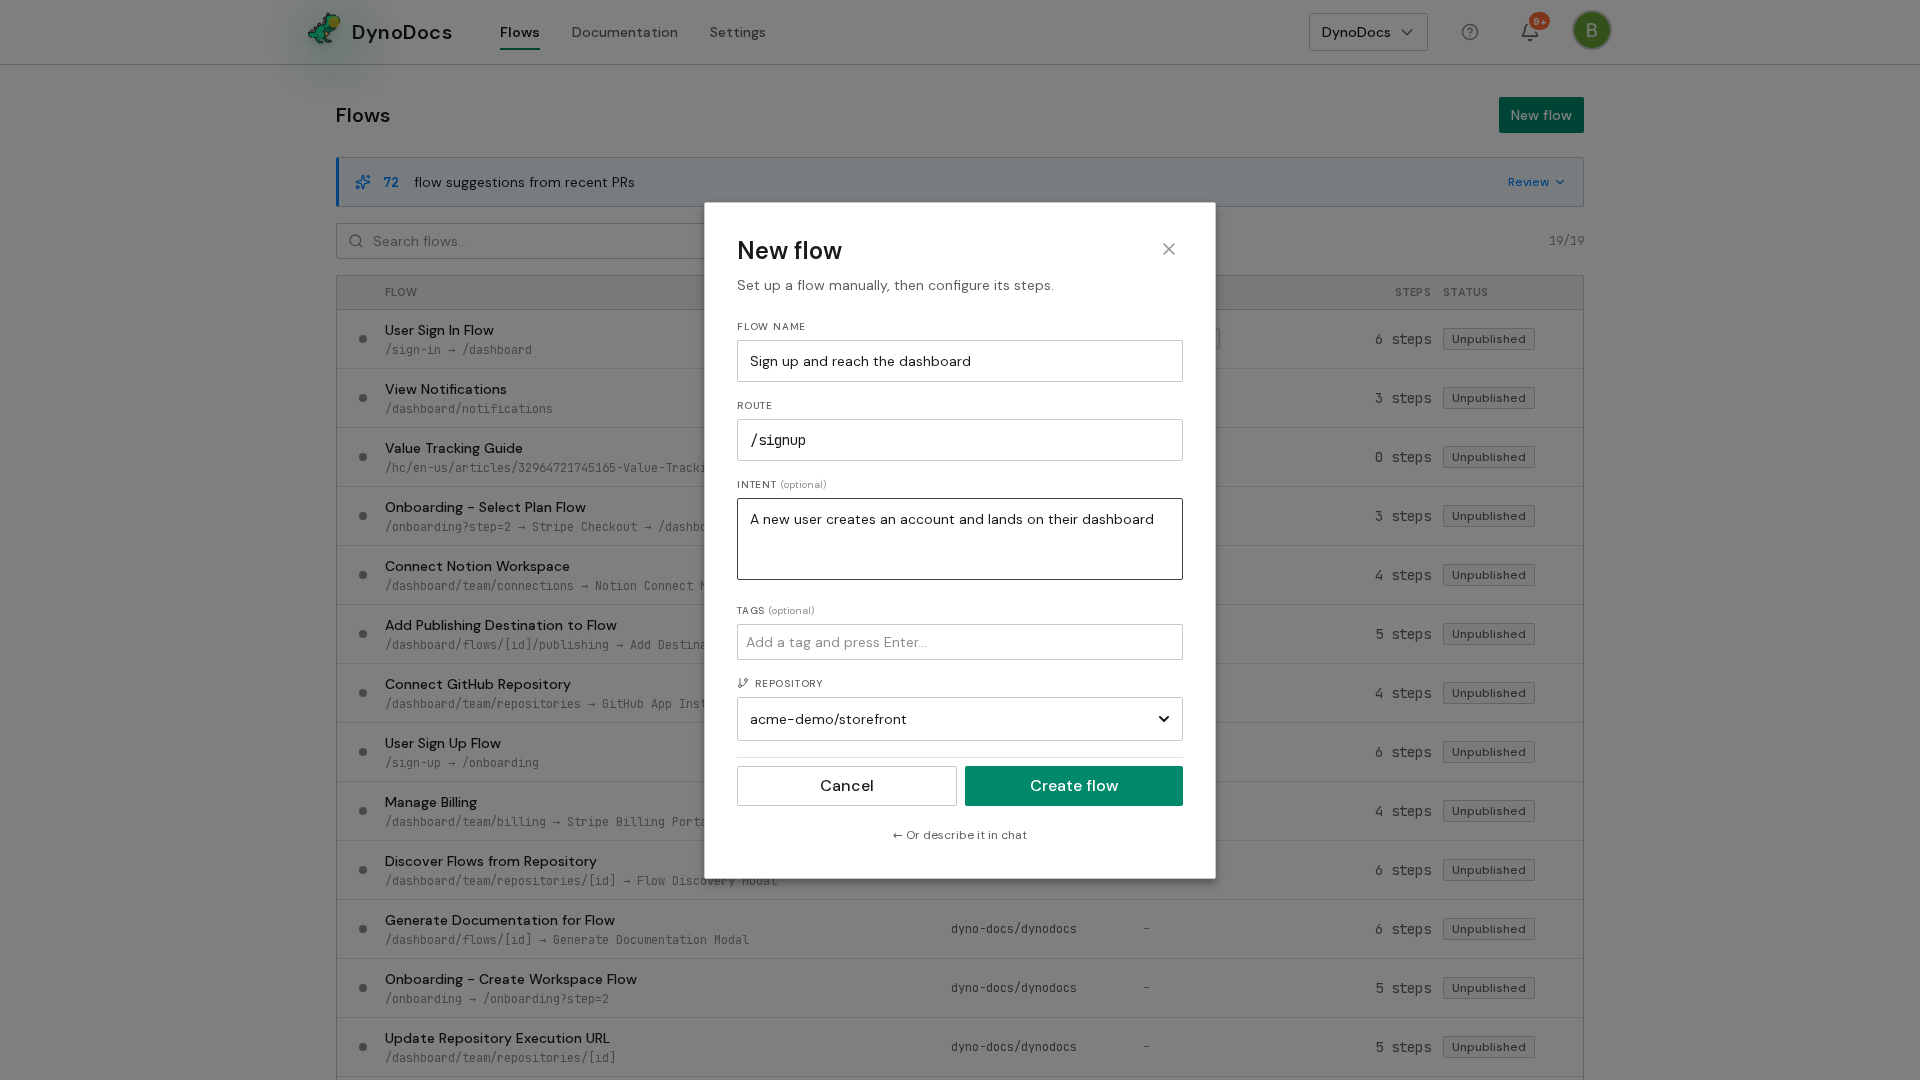
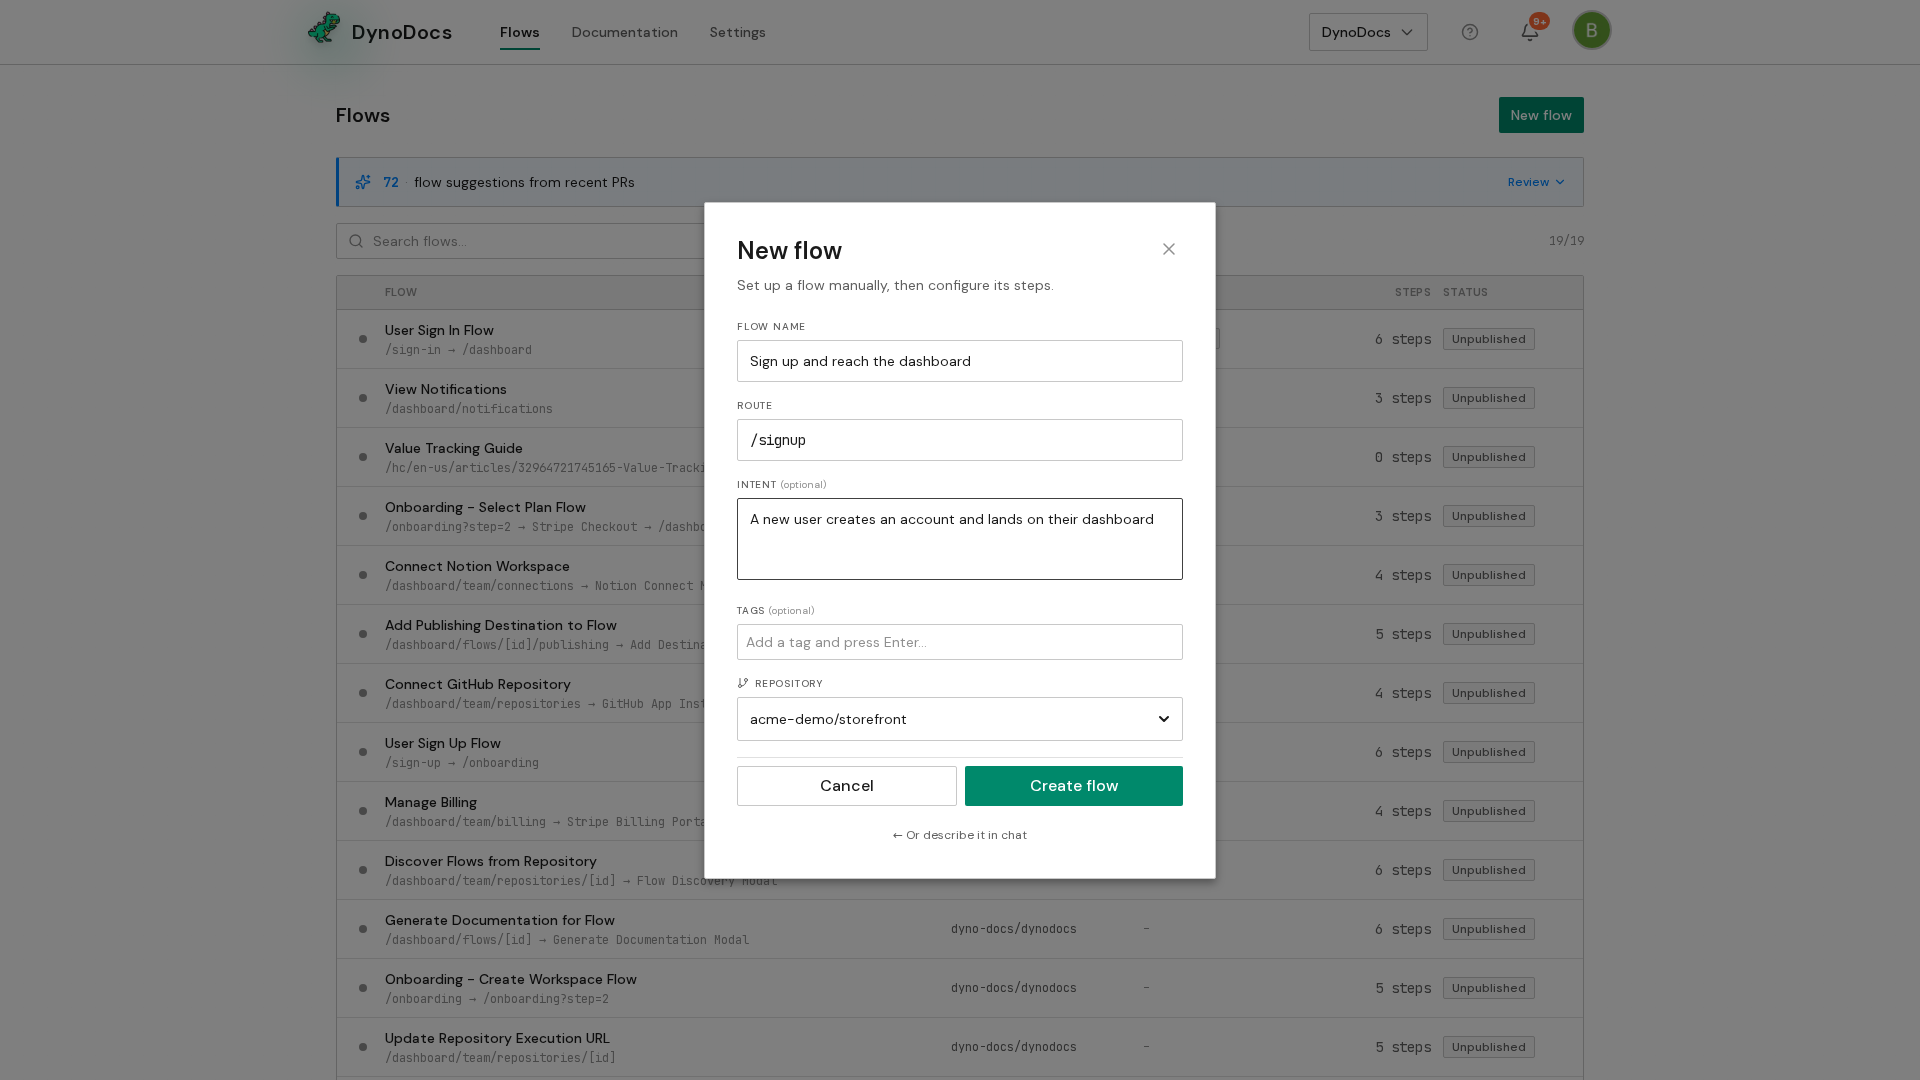
Switch from the AI-chat tab to manual entry. The form updates to show fields for the flow's name, route, and description.
Step screenshot

Fill in the flow details

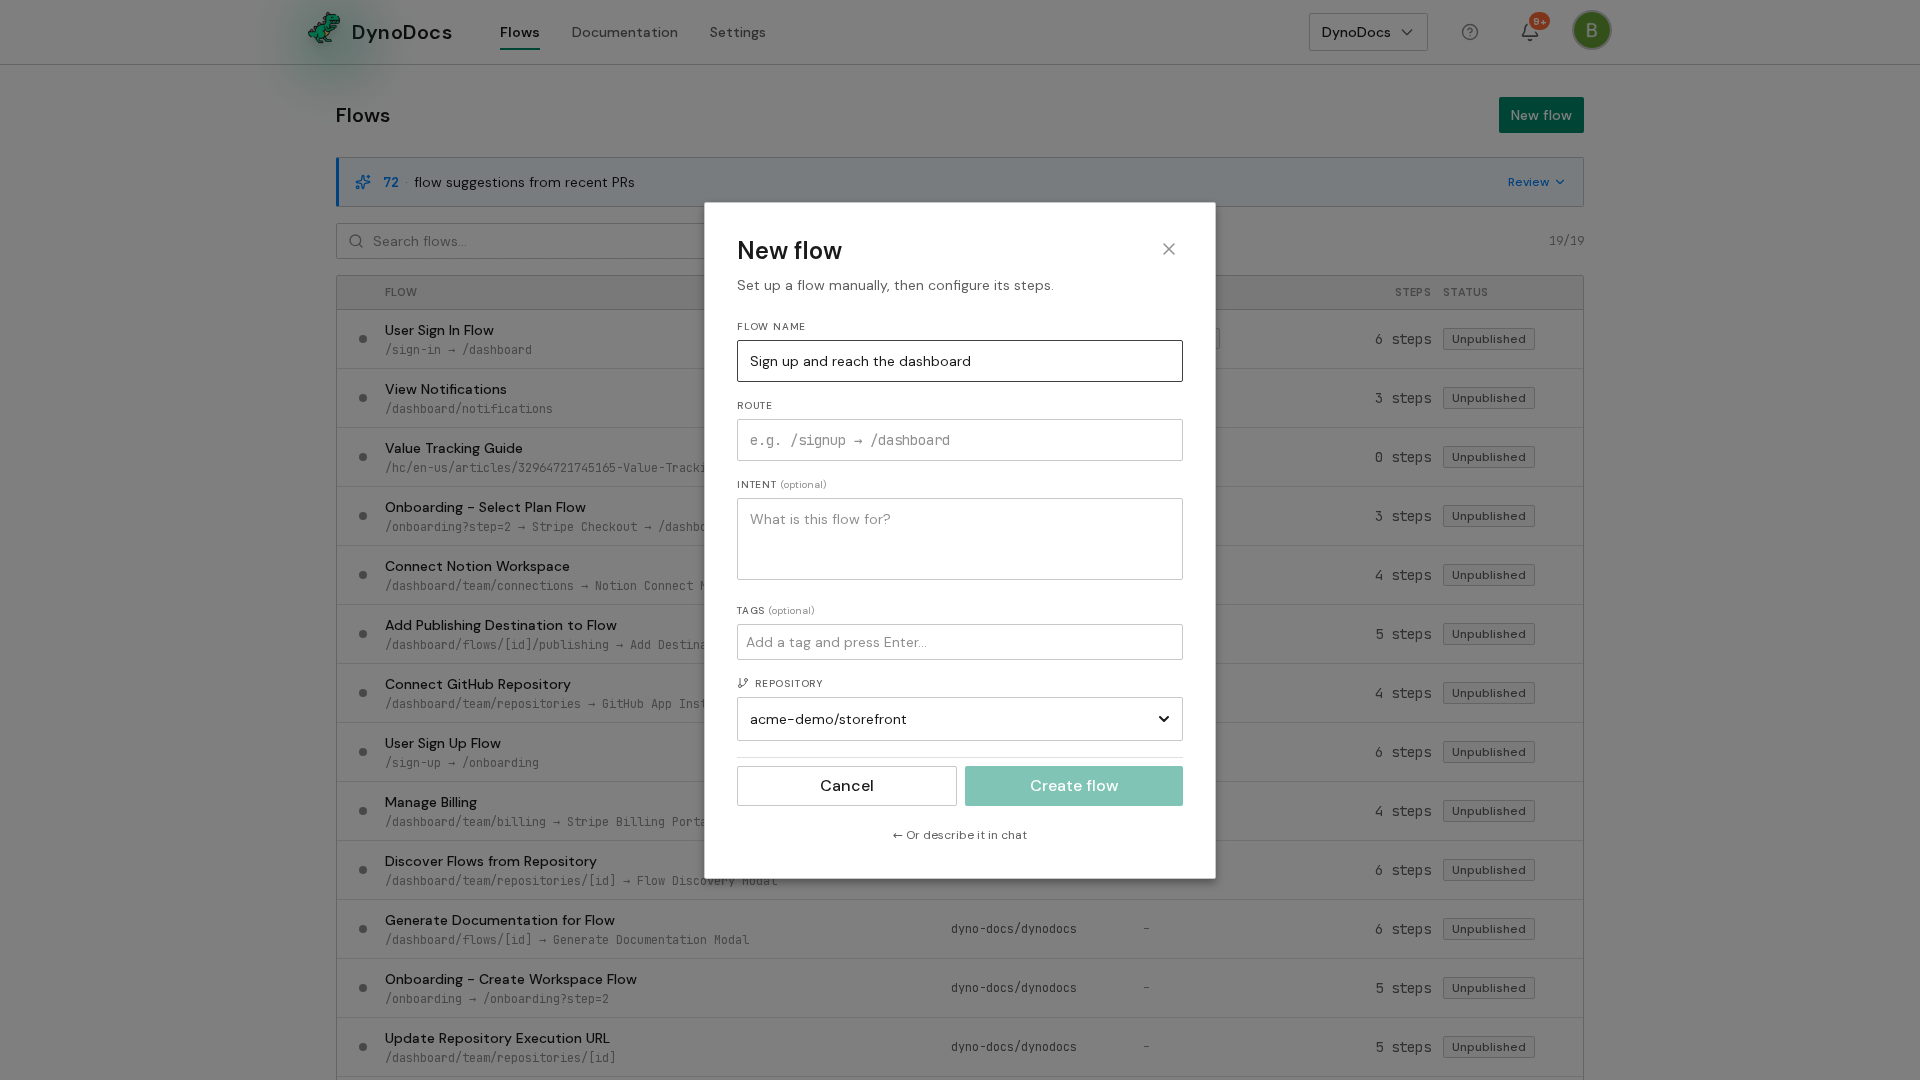
Enter a name for your flow in the Name field. This is the display label you'll see on the dashboard and in any generated documentation. For example, User onboarding walkthrough.
Step screenshot
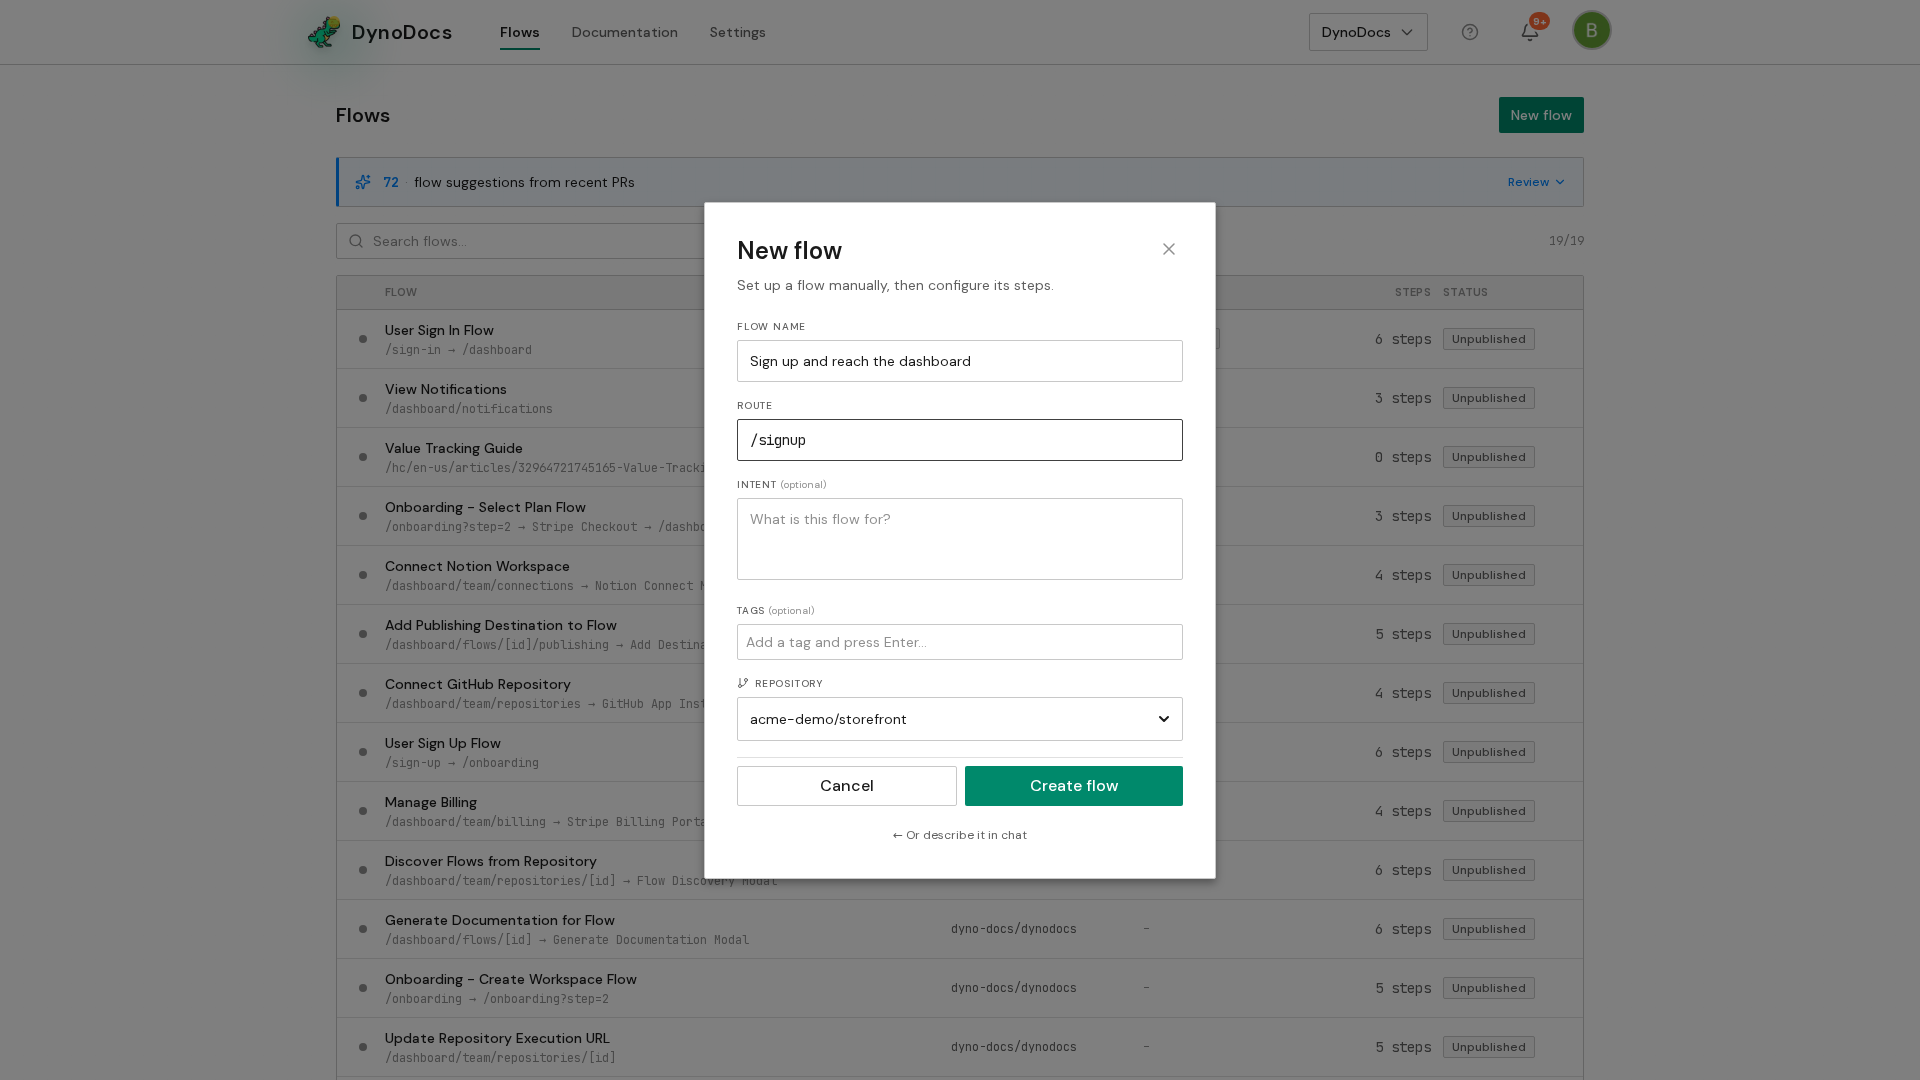
In the Route field, enter the path or paths the flow covers. For example, /signup → /dashboard to represent a flow that starts at signup and ends on the dashboard.
Step screenshot
Add a short summary in the Description field to capture the flow's purpose. For example, A new user signs up and lands on the dashboard.
Step screenshot

Create the flow

Click Create flow to save. The flow appears on your dashboard, ready for further configuration or documentation.
Step screenshot

Prerequisites

  • You are signed in and have access to the flows dashboard.